In this tutorial, we will look at how to install Docker on OpenMediaVault. In order to install Docker, you must first install OMV-Extras which will greatly expand the functionality of your OMV 5 or OMV 6 installation.
By default, you’ll be able to install tons of different plugins (many more are added to the default OMV installation). However, the main point (at least for this tutorial) is that you’ll also be able to install Docker, Portainer, and Yacht, which will give you the ability to install and manage many different containers.
After OpenMediaVault Extras is installed, you’ll have the ability to install many plugins and Docker containers which will allow your NAS to host all different types of applications.
Why Run Docker on OpenMediaVault?
Docker provides an easy way to run and manage various applications, going beyond the limitations of a typical NAS solution. With Docker, you’re not tied to specific software versions from the OMV plugins. You can easily update individual applications without affecting others since Docker runs individual containers.
You can also experiment with new applications while running Docker without worrying about messing up your existing setup. Docker containers are isolated, meaning they won’t interfere with each other or your host system. If an experiment goes wrong, you can easily clean it up and start over, without any damage done to your OMV system.
Finally, there are thousands of ready-to-deploy Docker images for various applications, which means you have a lot more software choices to run on your OMV instance. Whether you need a different media server software, a home automation application, or even a game server, there’s a good chance you’ll find a Docker container that can be set up extremely easily.
Running Docker gives you a ton of flexibility that didn’t initially exist and in my opinion, Docker is a required install for OpenMediaVault.
Docker Installation Prerequisites
We will look at how to install Docker below. Please keep in mind that you will need access to the command-line interface (CLI). You can either access the console of your OpenMediaVault install or use SSH. The example below will use SSH.
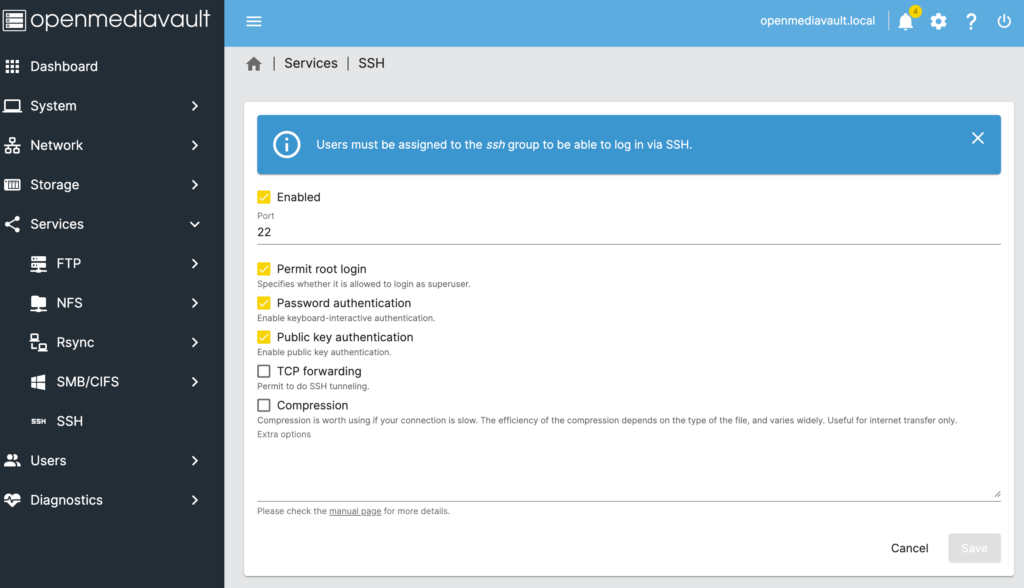
1. Open the web management console of OpenMediaVault, then select Services, and SSH. Ensure that SSH is enabled, it’s using port 22, and root login is allowed.
2. Either using a terminal window or a tool like PuTTy, SSH into your OpenMediaVault instance using the root username and password.
NOTE: If you want to do this through the OpenMediaVault web interface, you can download the plugin WeTTY. From there, you can enable it and access the CLI with the root user directly in your web browser!
ssh root@[OpenMediaVault_IP]
3. Run the command below in the SSH terminal window to install OMV-Extras.
wget -O - https://github.com/OpenMediaVault-Plugin-Developers/packages/raw/master/install | bash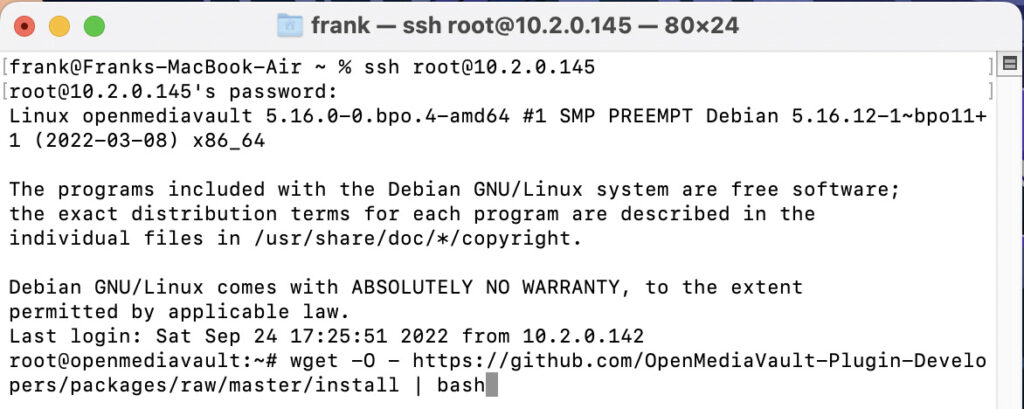
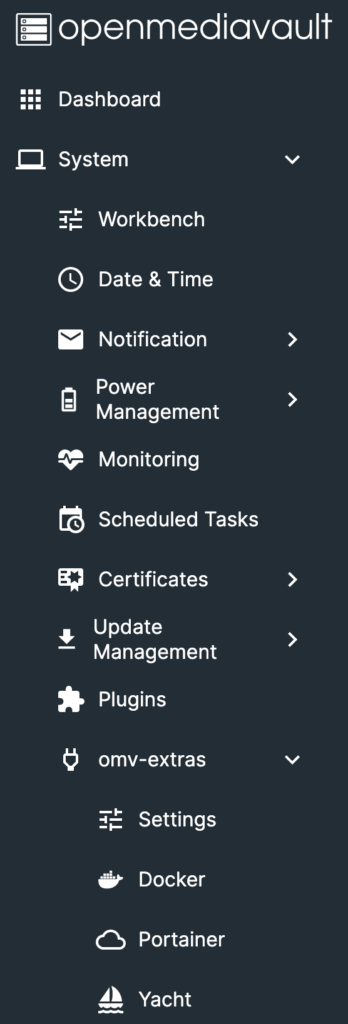
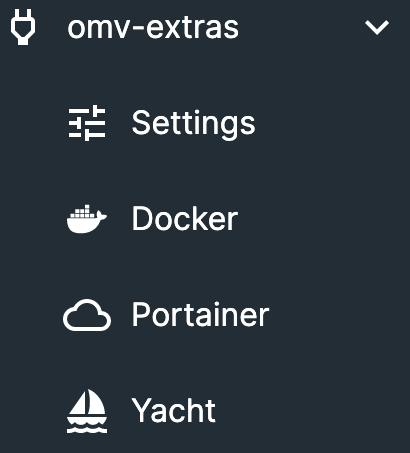
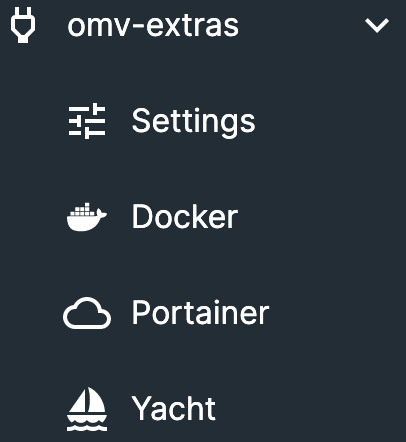
4. OMV-Extras will now be installed! Log back into the OpenMediaVault web management console. If you already have it open, refresh the page. In the System section, you will have a new menu called omv-extras which is what you’ll use to access Docker, Portainer, and Yacht!
5. Please keep in mind that OMV-Extras will also have a bunch of different plugins that you can install!
How to Install Docker on OpenMediaVault
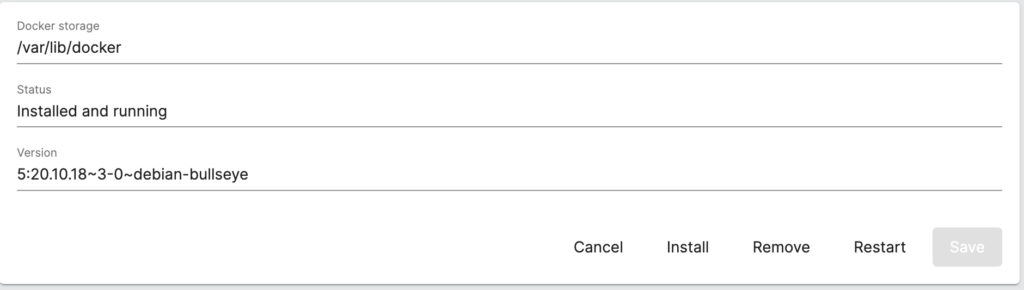
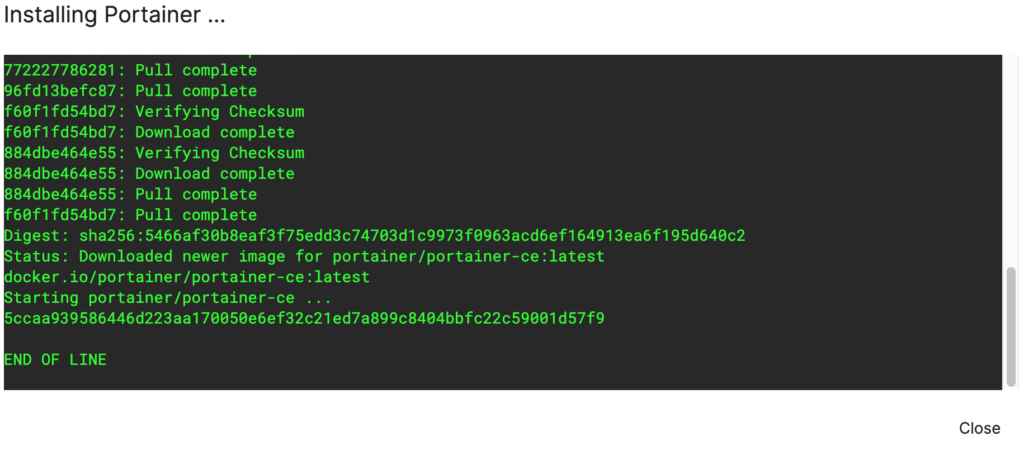
1. To install Docker, select Docker and then select Install.
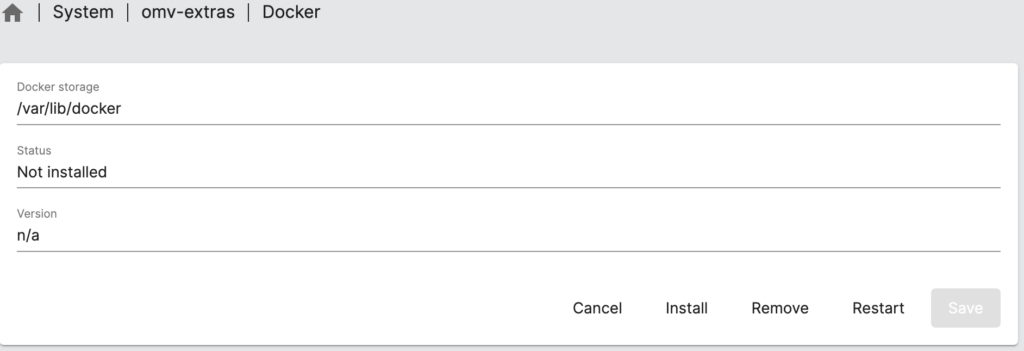
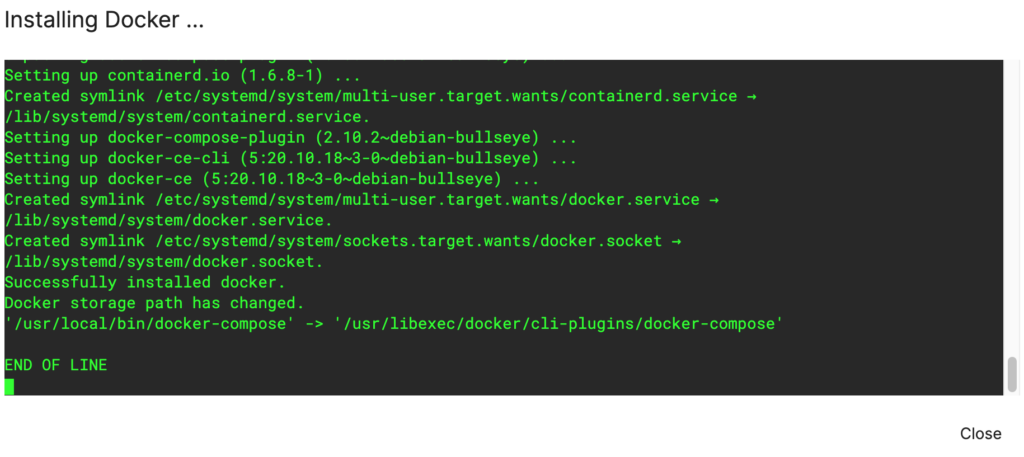
2. A new window will appear, and after a few seconds, Docker will be installed!
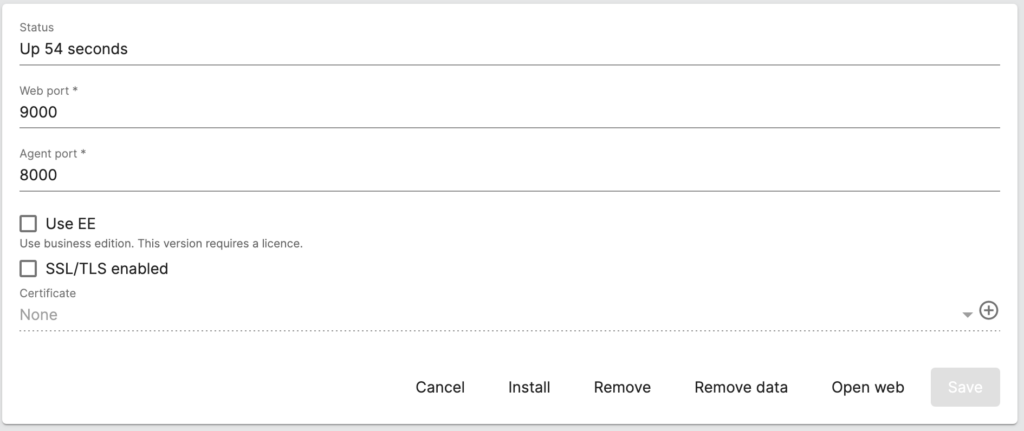
3. You should now see the status of Docker as installed and running.
Now that Docker is installed, it’s easiest to manage Docker using Portainer or Yacht which we’ll take a look at below. Before we do, let’s look at some key differences between both so that you can install the Docker container management interface that fits you best.
| Portainer | Yacht | |
|---|---|---|
| Interface | Intuitive and user-friendly | Intuitive and user-friendly |
| Setup | Fairly easy to install and set up. | Also easy but newer, with less documentation |
| Supported Platforms | Docker and Kubernetes | Docker only |
| Templates | Yes | Yes |
| Management | Comprehensive | Basic: fewer management features |
| Monitoring | Advanced monitoring features | Basic monitoring features |
| Community | Larger, more established | Smaller, growing |
| Price | Free, but paid for enterprises | Completely free |
Accessing Docker Using Portainer or Yacht
After OMV-Extras have been installed on OpenMediaVault, you’ll see that you can install Portainer and Yacht (OMV 6).
How to Install Portainer on OpenMediaVault
1. Select Portainer under omv-extras.
2. If you’re okay with the default port values (you can change these if you’d like), select install.
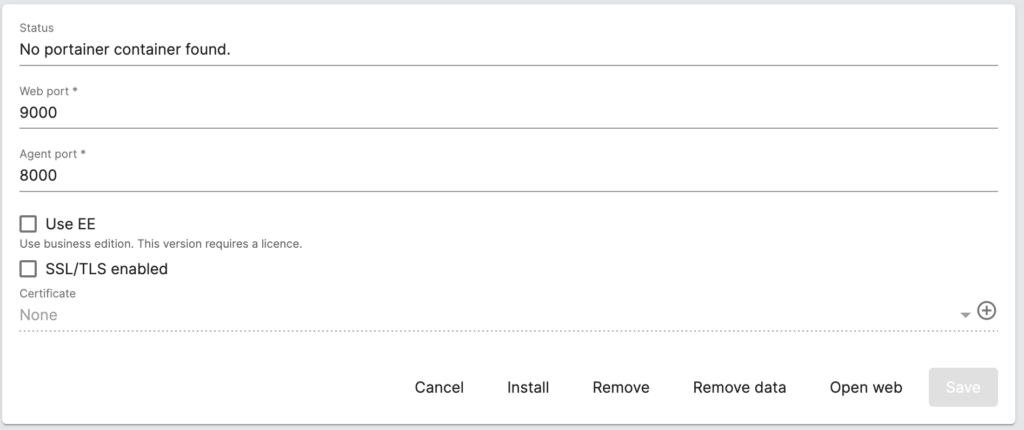
3. Portainer will now be installed! Please keep in mind that Portainer is a container, meaning that you must install Docker in order to get Portainer running.
4. When you’re ready to launch Portainer, select Open Web.
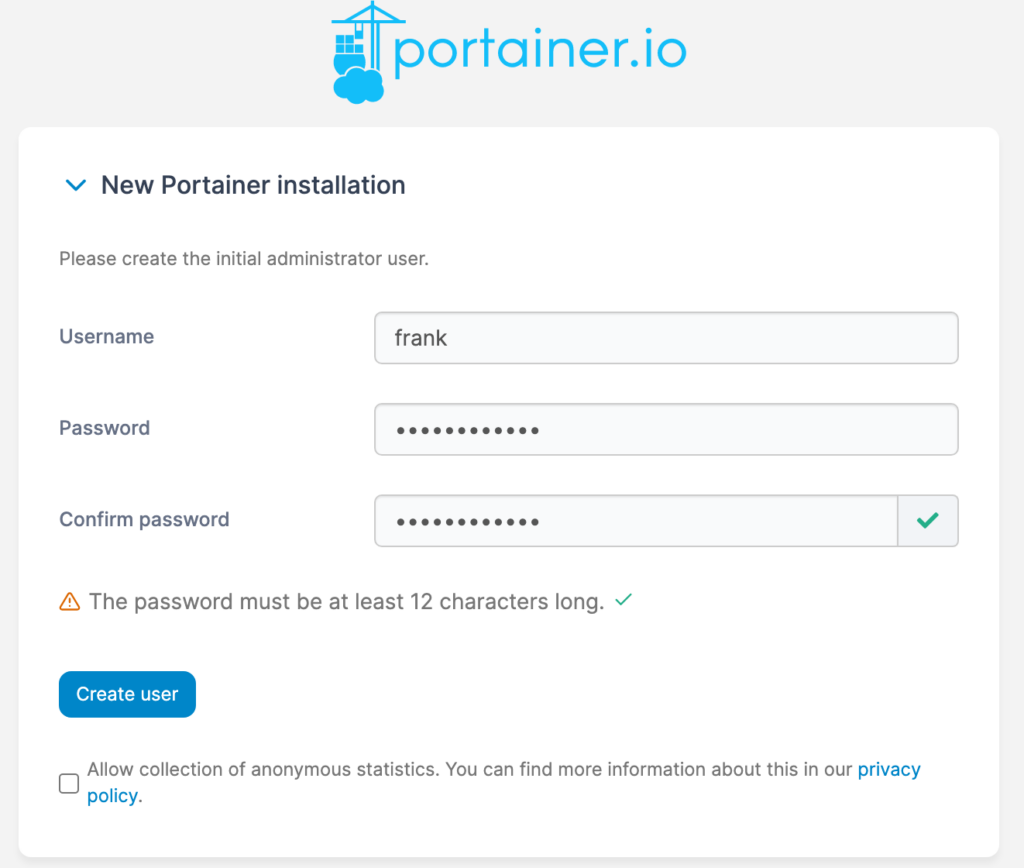
5. Set up a username and password.
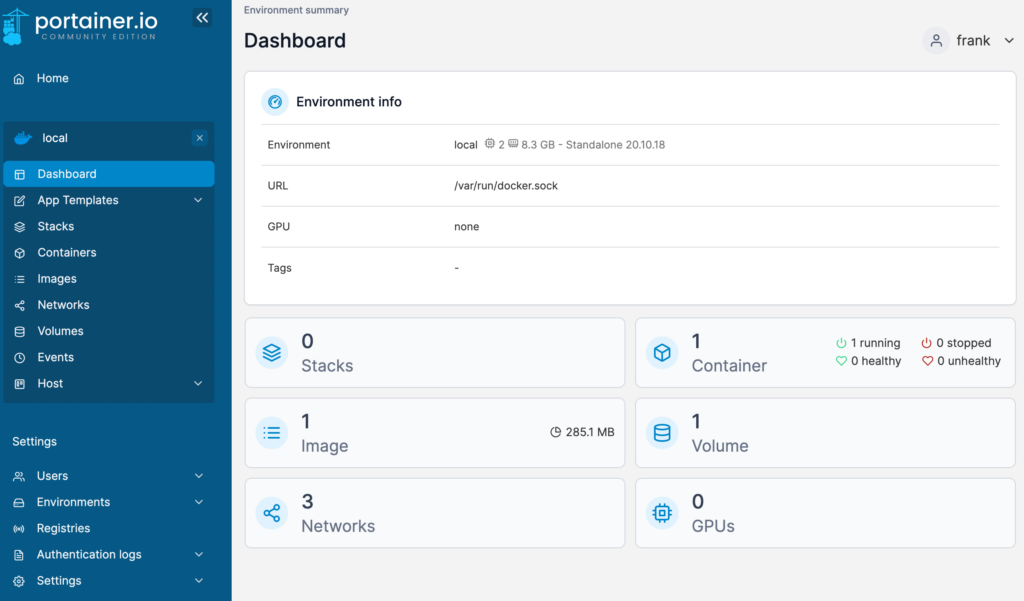
6. After you create your user account, you’ll be able to access Portainer!
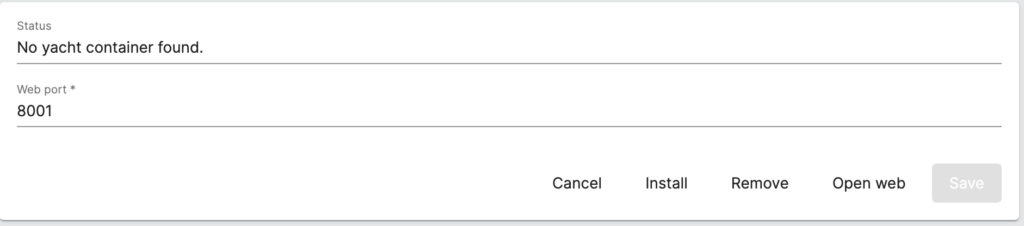
How to Install Yacht on OpenMediaVault
Installing Yacht on OpenMediaVault is the same process as Portainer. Just make sure that Docker is installed first!
1. Select Yacht under omv-extras.
2. Select Install and Yacht will be installed!
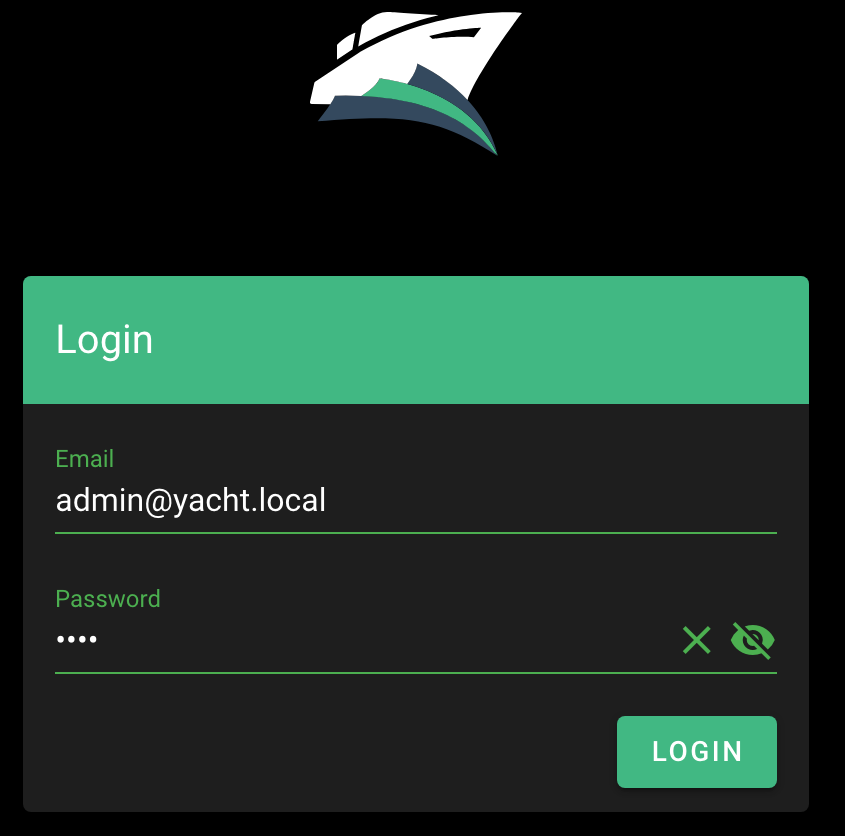
3. Select open web and Yacht will launch! Login with the default user admin@yacht.local and the password pass. Make sure you change these as soon as you log in!
Conclusion & Final Thoughts on Docker/OpenMediaVault
The process of installing Docker is really reliant on installing the OpenMediaVault Extras first. As soon as you do, you’ll be able to install Docker, Portainer, and Yacht.
From there, you’ll be able to install as many containers as you’d like! If you aren’t sure which containers to install, check out some of our Docker tutorials! Another hidden benefit (that you might not be aware of) is that installing the OpenMediaVault Extras will allow you to install various other types of packages/services on your NAS.