In this article, we will look at how to factory reset a Synology NAS.
If you’re selling a Synology NAS (with the hard drives) or simply want to reset it to its factory settings, there is only one way of doing it. However, before you factory reset a Synology NAS, there are a few things that you must be aware of:
- If you follow these steps, the data on the Synology NAS will be gone forever. Anything on the NAS that existed before the factory reset will be erased and you will not be able to recover it. Make sure you back up your important data before even attempting these steps.
- If you do not want to delete your data, but just want to reset it so that you can regain access to it, please follow these steps from Synology. I recommend starting with a Mode 1 reset and shifting to a Mode 2 reset (which will reinstall DSM) if the first option doesn’t work.
How to Factory Reset a Synology NAS
We will look at how to factory reset a Synology NAS below, but as mentioned above, make sure you back up all of your important data!
Step 1: Accessing Synology DSM
In order to fully factory reset a Synology NAS, you must have access to DSM. If you don’t have access to DSM, you will have to reset the device first before proceeding.
You can follow these instructions to reset the system so that you can log in. Please keep in mind that a Mode 1 or Mode 2 reset will not reset the NAS to factory default (blank) and should only be used if you do not have access to DSM.
If you want to delete all data on the NAS, you will have to follow the steps below.
Step 2: Factory Resetting a Synology NAS and Deleting All Data
This process will delete all data on the Synology NAS. Please be absolutely certain that you want to do this before proceeding.
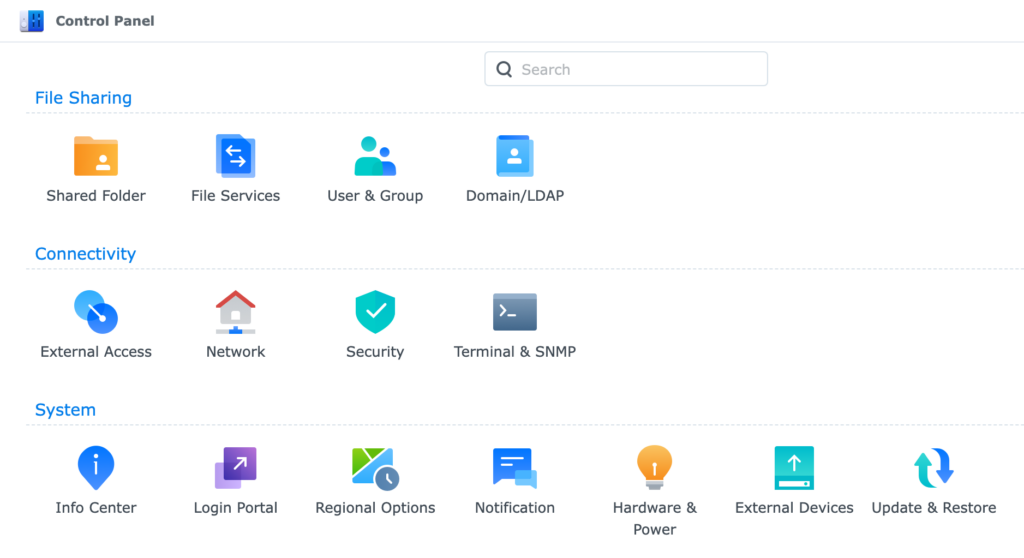
1. Log in to DSM and select the Control Panel.

2. Select Update & Restore.

3. Select System Reset, then Erase All Data.

4. As mentioned earlier, all data on the NAS will be removed. If you are comfortable proceeding and agree to delete all data, select the checkbox stating you understand, then select Erase All Data.

5. Enter your DSM password, then select Submit.

6. Your Synology NAS will now reset. After a few minutes, you will be able to set up your Synology NAS again.

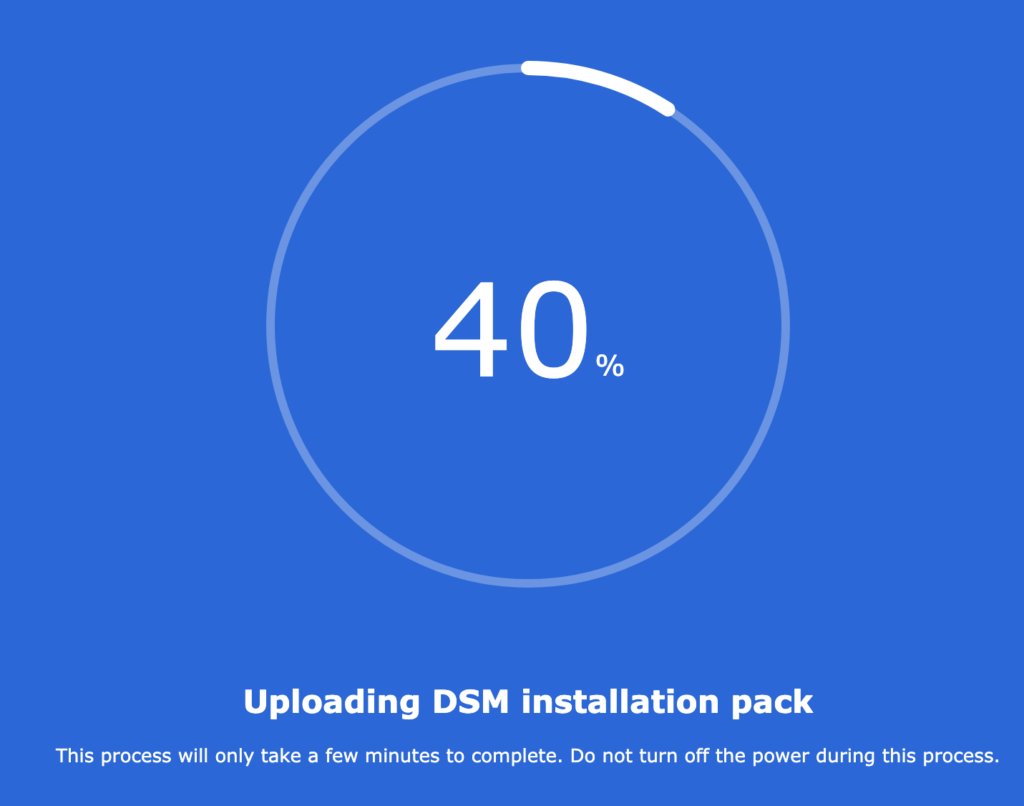
7. Please keep in mind that you will be forced to reinstall DSM at this point and reconfigure it if you’d like to continue using your Synology NAS.

Conclusion & Final Thoughts
Depending on what you’re trying to accomplish, factory resetting a Synology NAS will allow you to start from a clean slate. Absolutely nothing will exist on the NAS after these steps are completed. I cannot be any clearer in saying that you must ensure you have backups of your data before following these steps. Any data that is not backed up will be lost forever.
Thanks for checking out the tutorial on how to factory reset a Synology NAS. If you have any questions, please leave them in the comments!


