
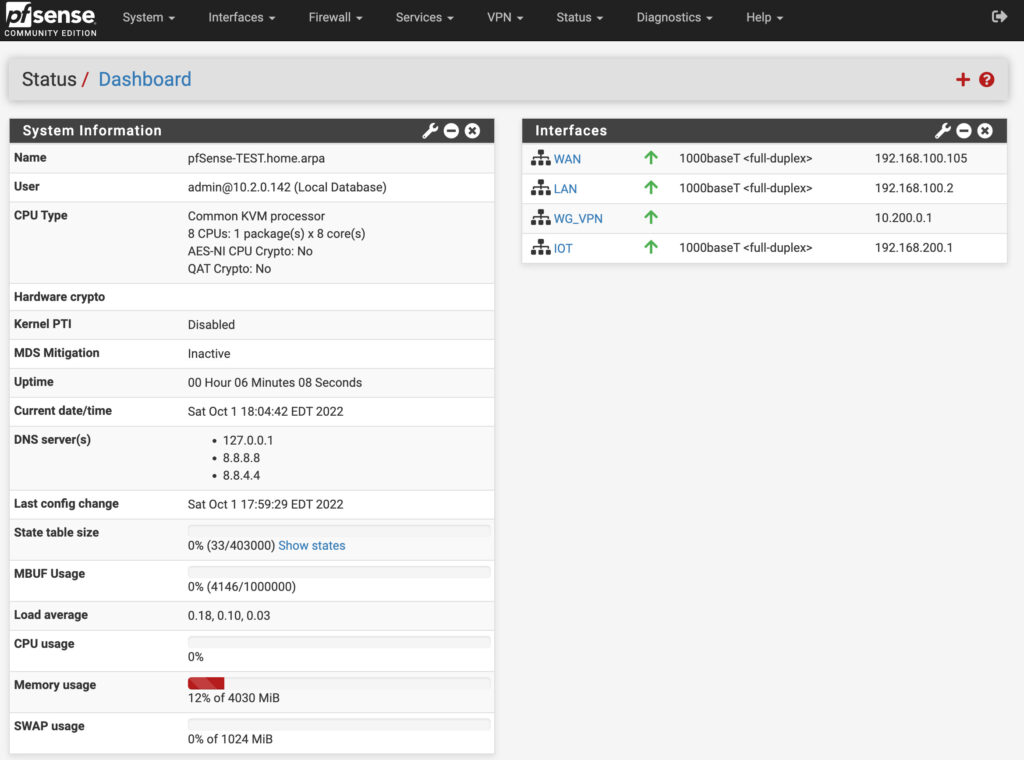
pfSense doesn’t need special hardware, and that’s most of its appeal: give it two network ports and an x86 processor, and almost anything becomes a serious firewall. The picks below are grounded in a build I just did, not spec sheets, because I recently took a Beelink EQ14 mini PC, installed pfSense on it, and documented the whole process in a YouTube video. It’s also a strange moment for routers: the FCC situation has made the future of consumer models murky, and more people are looking at running their own firewall than ever. If that’s you, here’s where I’d actually spend money in 2026.
The short version: the Beelink EQ14 is what I’d buy for most DIY builds, and it’s the exact box from my video. The Protectli Vault V1410 is the step up if you want four dedicated 2.5GbE ports and US-based support behind the hardware. If you’d rather have pfSense preinstalled, get the Netgate 2100, or the Netgate 1100 if your needs are basic. If you already have an old PC or a Proxmox host, you may not need to buy anything at all. And if you read this and decide you’d rather not maintain your own firewall, that’s a legitimate conclusion, and I’ll give you the honest version of it at the end.
Disclosure: Some links below are affiliate links, which means that I earn a percentage of each sale at no cost to you. Thank you for your support.
pfSense CE or pfSense+? Decide This First
Quick background if you’re new to this. pfSense comes in two editions: Community Edition, which is free, open source, and has everything a home network needs, and pfSense+, which is free on Netgate’s own hardware but needs a paid subscription on anything else. That one distinction drives the whole buying decision on this page: buy a Netgate and pfSense+ comes with it, or bring your own hardware and run CE for free. For a home build, CE is the right call, and it’s what I used for this article’s build.
On the hardware side, pfSense is FreeBSD-based, so it’s happiest on x86 processors with Intel network cards, and it needs a minimum of two network ports, one for WAN and one for LAN. One honest aside before the picks: OPNsense, the fork of pfSense, runs on all the same hardware, so if you’re still deciding between the two, every DIY option below keeps that door open. I compare them properly in my pfSense vs. OPNsense breakdown, and if OpenWrt is also on your list, I’ve covered pfSense vs. OpenWrt separately.
What Actually Matters in Firewall Hardware
Two wired network ports is the hard requirement, one for the connection from your modem and one for the connection to your switch. After that, the spec that matters most is port speed. If your internet plan is faster than a gigabit, you want 2.5GbE ports, because 1GbE ports will cap you below the speed you’re paying for. Intel network chips are the safe choice for pfSense, so check for them before anything else.
The second thing is power draw, and most people never check it. This box runs 24/7 for years. The EQ14 idles around 10W in my testing, which is what you want. An old desktop repurposed as a firewall can pull five times that around the clock, and the electricity math catches up with you.
On the processor side, go x86 over ARM if you plan to do anything beyond basic routing. IDS/IPS packages like Suricata and Snort, VPN servers, and heavy rule sets all benefit from it, and the current Intel N-series chips handle all of that at good speeds while staying efficient. 8GB of RAM is comfortable, 16GB is headroom, and storage barely matters since the install is tiny. I’d pick ZFS during installation for the data integrity and snapshots.
One expectation to set before you buy: a firewall is not a whole network. You still need a managed switch and access points behind it for your devices to actually use what you build, especially once VLANs are involved. These boxes replace your router, not your switch or your WiFi.
The Best pfSense Hardware Right Now
My Build
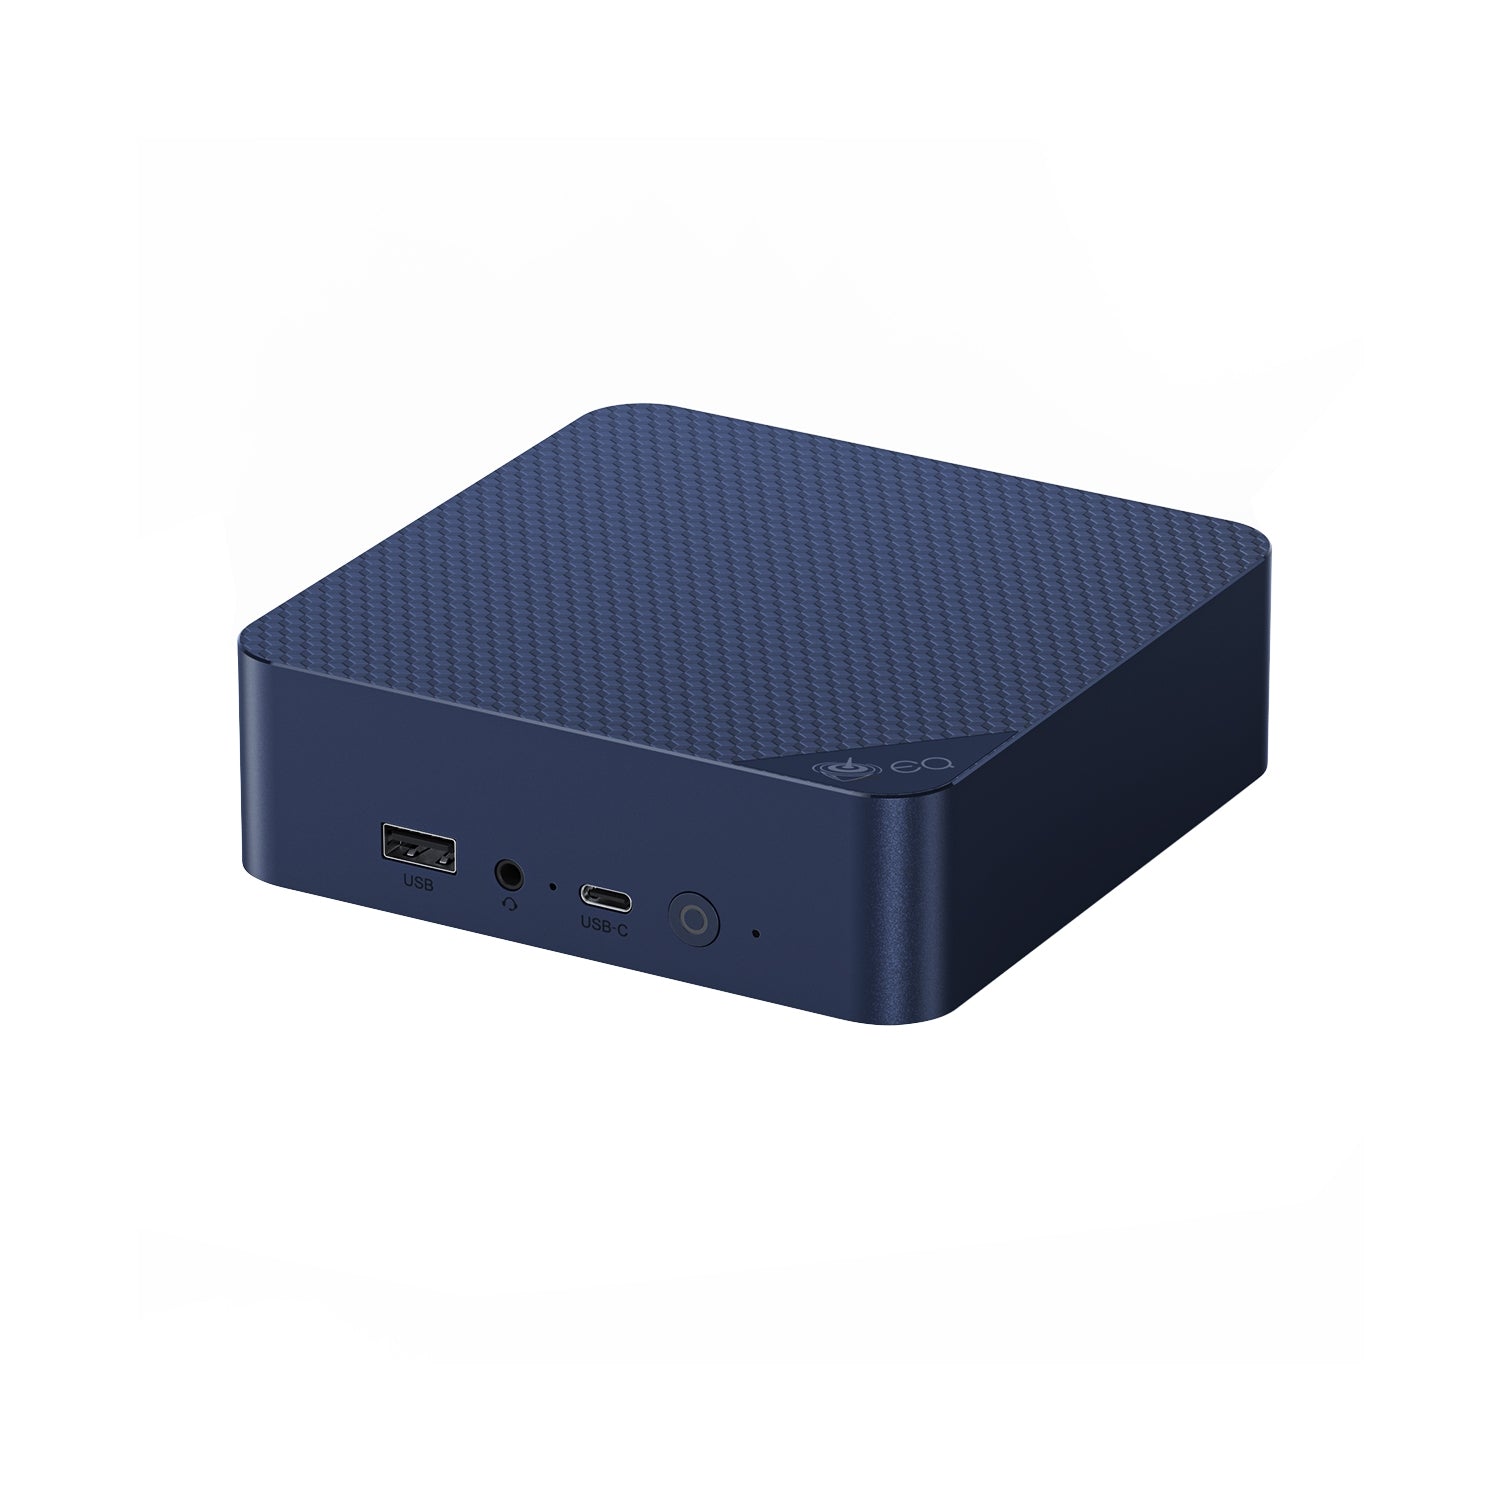
Beelink EQ14
Intel N150 (4 cores), 16GB DDR5, 500GB NVMe, 2x 2.5GbE, around 10W at idle
This is the exact box I built a pfSense firewall on for my recent video, so I can tell you precisely what it does. The two built-in 2.5GbE ports are the reason it works: WAN in one, LAN out the other, no extra hardware needed, which is rarer at this price than you’d think. The N150 barely notices normal routing and has enough headroom for WireGuard, Suricata, and a stack of VLANs without slowing your connection down. Mine came with 16GB of DDR5 and a 500GB NVMe drive, though configurations and pricing move around a lot, usually somewhere in the $300 range. The honest caveat is the two ports: your VLANs all travel over one trunk to the switch, which works fine, but if you want dedicated physical interfaces, read the four-port options below before deciding. If you already own an EQ14 or something like it as a general mini PC, even better, because this build costs you nothing but an evening. My mini PC roundup has more options in this class.
The full build is on YouTube, from BIOS to VLANs and firewall rules, including the setup changes I’d make before trusting it with a real network:
More Ports
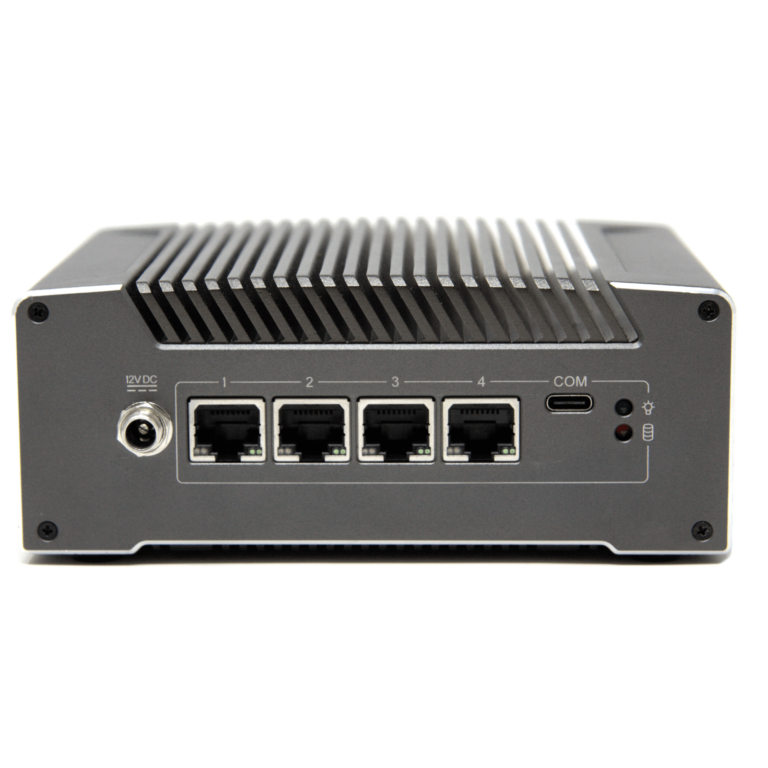
Protectli Vault V1410
Intel N5105 (4 cores), 4x Intel i226-V 2.5GbE, 8GB LPDDR4, 32GB eMMC, fanless, no OS preinstalled
The V1410 is the four-port box I’d point most people to. Protectli has been selling firewall hardware to this exact crowd for years, the Vaults are fanless and silent, and there’s US-based support behind them. Four Intel i226-V 2.5GbE ports means WAN, LAN, and two spare interfaces for whatever your network grows into, which is the flexibility a two-port box can’t give you. Protectli tests this hardware against pfSense and the rest of the FreeBSD firewall family specifically, so compatibility surprises are unlikely. Know the limits: the 8GB of RAM is soldered, the 32GB eMMC is small (fine for a firewall, but add storage if you want long packet capture retention), and nothing is preinstalled, so you’re flashing a USB installer yourself either way.
The White-Box Alternative
Amazon is also full of small fanless firewall boxes from rotating brands like HUNSN, MOGINSOK, and CWWK, usually an N100 or N150 with four Intel 2.5GbE ports, and sometimes with 10G SFP+ thrown in for less than the Protectli costs. The hardware inside is often perfectly good, the NICs are the same Intel i226 class, and the N100 and N150 are honestly newer, slightly quicker chips than the N5105 in the Vault. The trade-off is that the listings and brands churn constantly: the four-port box in my old guide is a dead link now, and prices on identical-looking units swing hundreds of dollars. If you go this route to save money, check for Intel network ports (i226 is the common one), an N100 or newer processor, and recent reviews confirming the seller ships the configuration listed. There’s no support to speak of, which is what the Protectli premium buys you.
Preinstalled
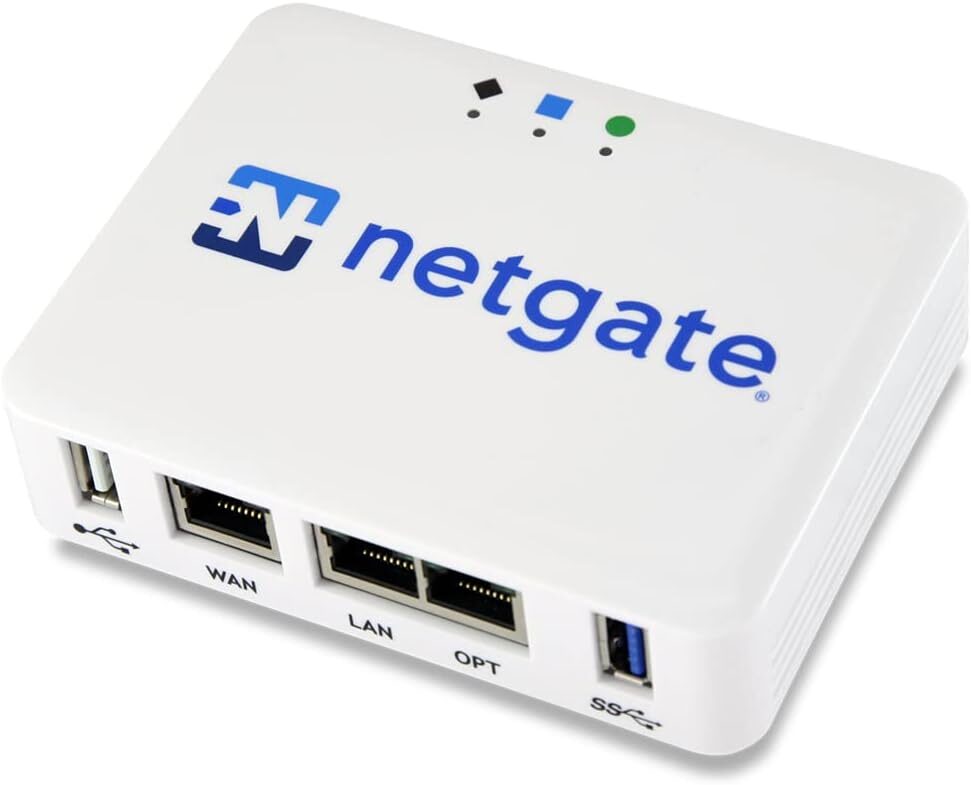
Netgate 1100
Dual-core ARM, 1GB RAM, 3x 1GbE (WAN/LAN/OPT), pfSense+ preinstalled, official Netgate support
The Netgate 1100 is the cheapest way to get pfSense out of the box, and it’s pfSense+, the commercial edition, at that. Buying Netgate also supports the people who develop pfSense, which counts for something. My advice on it hasn’t changed from the original guide, though: know what you’re buying. The ARM processor and 1GB of RAM handle basic routing and firewall rules on a gigabit connection, but they fall short for IDS/IPS and heavier packages, and the ports are 1GbE only, so this is the wrong box for multi-gig internet plans. If the 1100 sounds close but tight, that’s what the 2100 below is for. If you want performance per dollar instead, the mini PC route above wins easily.
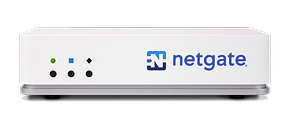
Netgate 2100
Dual-core ARM, 4GB RAM, 1x WAN + 4x 1GbE switched LAN, passively cooled, pfSense+ preinstalled, Netgate support
If preinstalled pfSense+ with official support is the priority, the 2100 is the Netgate I’d actually buy, and that’s been my advice for years. It fixes the 1100’s biggest constraint with four times the memory, and the built-in 4-port switch means a very small network can hang directly off it without a separate switch. It’s still an ARM platform with gigabit ports, so keep expectations for IDS/IPS throughput modest and skip it entirely if your internet plan is faster than a gigabit. At around $399 it overlaps the V1410 above, and the trade is simple: the Protectli is faster hardware you set up yourself, the Netgate is slower hardware that arrives working with a company behind it. Bigger appliances with x86 processors and multi-gig ports are on Netgate’s site directly.
The Free Route: Hardware You Already Have
There’s a real chance you don’t need to buy anything. Any x86 machine can run pfSense, and if it only has one network port, a used Intel i350-T2 card fills the gap for gigabit networks. These are commodity server pulls at this point, and eBay is full of them for very little money. If you’d rather buy new or need 2.5GbE, a dual-port Intel i226 card runs about $40 and does the same job at multi-gig speeds. Drop the card into a free PCIe slot, and an old desktop or thin client becomes a capable firewall.
The other version of this is virtualization. If you already run a Proxmox host, pfSense works well as a VM, and my pfSense on Proxmox guide walks through the whole setup. Two caveats before you commit to it: when the host reboots for updates, your internet goes down with it, so you’ll want to plan around that, and an old desktop running around the clock can quietly cost more in electricity over a few years than a 10W mini PC costs up front. The free route is genuinely free only if the hardware is efficient.
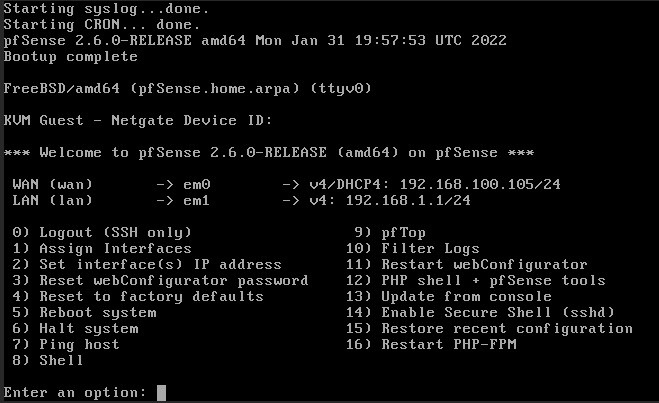
Spec Comparison
| Option | CPU | RAM | Ports | OS included |
|---|---|---|---|---|
| Beelink EQ14 | Intel N150 (4 cores) | 16GB DDR5 | 2x 2.5GbE | None, install pfSense CE |
| Protectli Vault V1410 | Intel N5105 (4 cores) | 8GB LPDDR4 | 4x 2.5GbE | None, install pfSense CE |
| White-box N100/N150 | Intel N100/N150 | 8 to 16GB | 4x 2.5GbE | None, install pfSense CE |
| Netgate 1100 | Dual-core ARM | 1GB | 3x 1GbE | pfSense+ |
| Netgate 2100 | Dual-core ARM | 4GB | 5x 1GbE | pfSense+ |
| Repurposed PC + Intel NIC | Whatever you have | Whatever you have | NIC-dependent | None, install pfSense CE |
Which One Should You Buy?
- First DIY firewall, most people: the Beelink EQ14. Two 2.5GbE ports out of the box and enough processor for everything a home network asks of it.
- Lots of VLANs, or you want dedicated physical interfaces: the Protectli Vault V1410, or a white-box N100/N150 with Intel i226 ports if you’re comfortable vetting the listing yourself.
- You want it preinstalled and supported: the Netgate 2100 is the one to get; the Netgate 1100 covers basic gigabit routing for less, and bigger appliances come direct from Netgate.
- You have an old PC or a Proxmox host: spend nothing, add an Intel NIC if you need ports, and follow my Proxmox guide.
- You want a firewall you never think about: that’s not DIY, and that’s fine. See the next section.
Should You Build Your Own Firewall at All?
I’ll end with the same honesty I ended the video with. I ran pfSense with UniFi switches and access points for many years and it worked very well, but in late 2024 I moved my own network to a UniFi Cloud Gateway, and the biggest lesson was that the maintenance difference is real. On pfSense, every firewall rule, every update, and every configuration decision is yours. If the internet breaks at 11 p.m., you’re the one debugging it. That control is exactly why some people choose this route, and exactly why others shouldn’t.
If you want deep firewall control, granular IDS/IPS, and a full package ecosystem, pfSense on the hardware above is one of the best ways there is to learn how networking actually works. If you’d rather set a firewall up once and mostly forget it, a UniFi Cloud Gateway is the better buy, and the entry point costs about $200, which undercuts most of this list. I’ve written a full pfSense vs. UniFi comparison if you’re torn between the two. And once your box is up and running, update it, turn on HTTPS for the web UI, set up automatic configuration backups, and make my WireGuard on pfSense guide your first project.