Today we are going to look at some of the best practices on how to secure a Synology NAS.
The majority of NAS security needs to be done preventatively to easily recover from potential issues that might arise in the future. We will take a look at some of the best practices below, but greater detail will be provided in the attached videos.
I will be highlighting the important points in the video above, but if you’re interested in learning more about configuring some of these settings, please watch the videos linked below.
Please keep in mind that there isn’t a best way of securing your NAS. For this reason, we will be looking at things from a general viewpoint. Every scenario and need that you might have should be thoroughly assessed to ensure that you’re following best practices for your needs.
These items are also not the only way that you have to secure a NAS and are nothing more than a comprised list of best practices and suggestions.
How to Secure a Synology NAS
We will look at securing a Synology NAS following best practices. Best practices don’t necessarily guarantee that you’ll never run into problems, but they do help recover if you do.
1. Basic Synology NAS Security Best Practices
We will look at how to secure a Synology NAS. Below are some of the “best practices” that you can follow to secure a Synology NAS.
1.1 Disable Admin Account
First, you want to make sure that you disable the admin account when you set up your Synology NAS. You must create a new user and ensure that they have admin permissions before disabling the admin user.
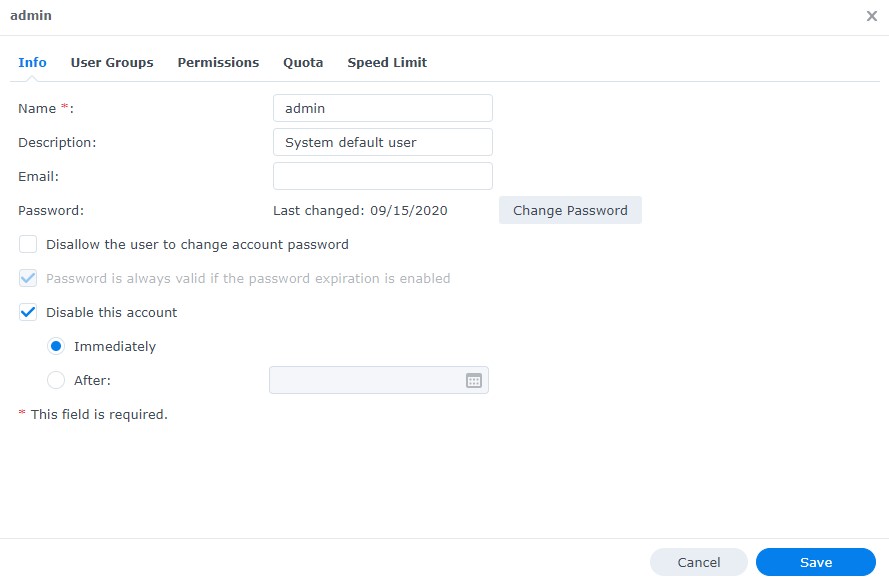
1. Select Control Panel, then select User & Group and Edit the admin user.
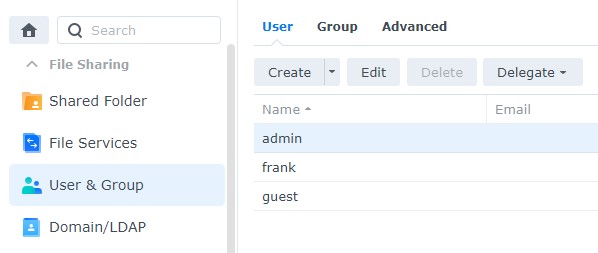
2. Select Disable this account, then select Save. This will ensure that the admin account is disabled.
1.2 Enable Two-Factor Authentication
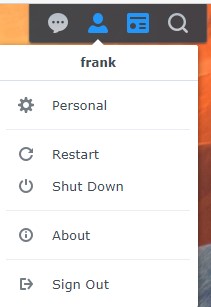
1. Select the Person icon in the top right and select Personal.
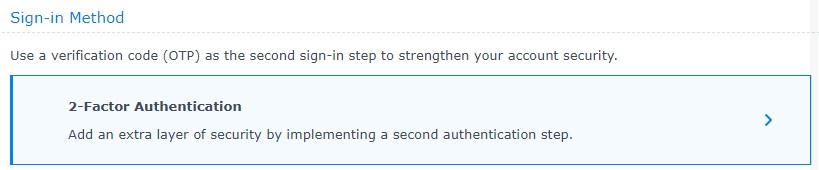
2. Select Enable 2-step Authentication. The email service will need to be enabled for this. You can learn how to configure Gmail to send email notifications here.
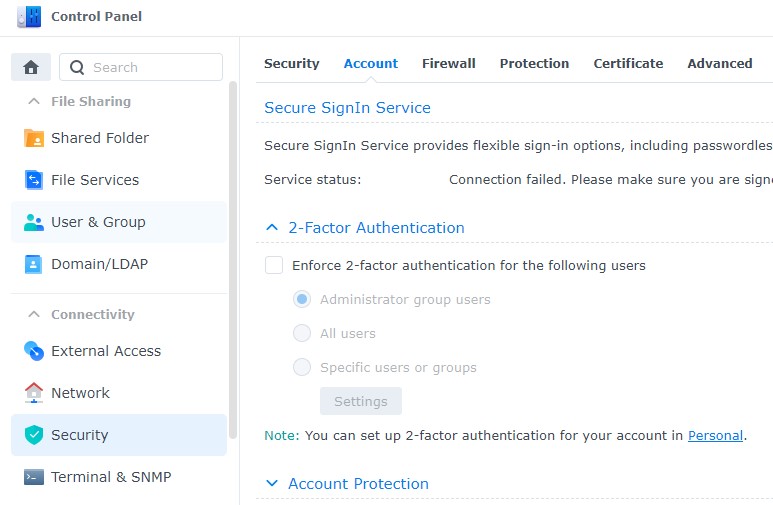
3. If you’d like to force all users to set up two-factor authentication, you can do so by selecting Control Panel, then Security, then Account and Enforce 2-factor authentication. You can enable it for a specific group or all users.
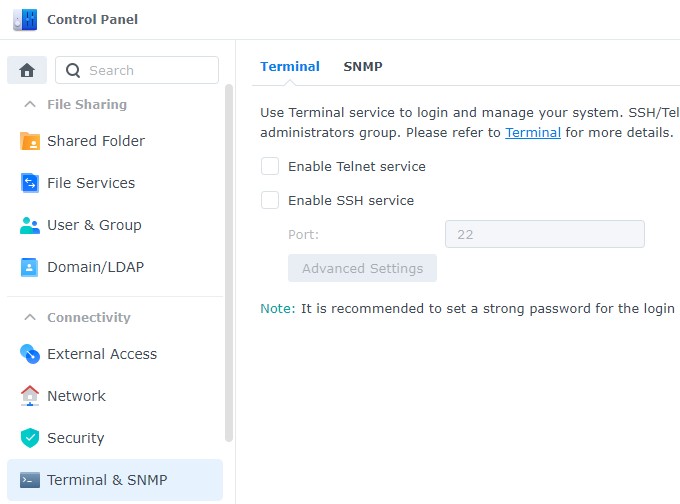
1.3 Disable SSH
There are multiple reasons why you might want to use SSH, but if you’re not actively using it, you should disable it. Even if you enable two-factor authentication above, SSH does not use it. For this reason, if your network is compromised, an attacker can try and brute force your password through SSH. If you’re using auto block (shown in 1.4), you can protect yourself from brute force attacks, so if you must keep it enabled, ensure that you have auto block turned on.
1. Open Control Panel, then select Terminal & SNMP.
2. Ensure that Enable SSH service is not checked off.
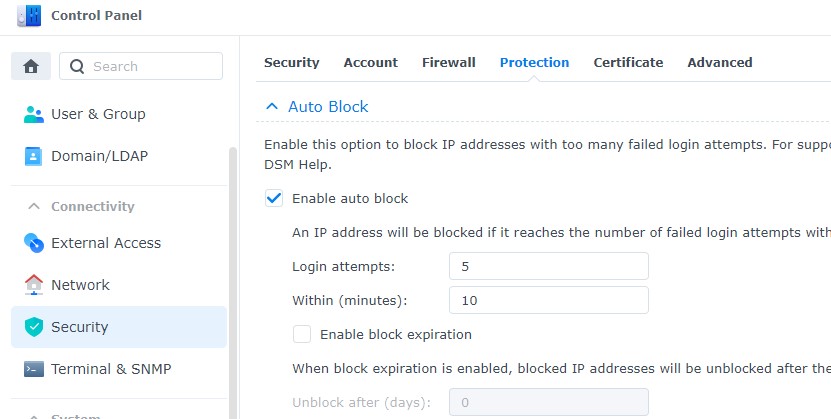
1.4 Enable Auto Block
Auto block will automatically block IP addresses that have failed a certain number of logins during a certain period of time.
1. Open Control Panel and select Security.
2. Select Account. Ensure Enable auto block is selected. Set the Login Attempts and Within parameters to be what you’d like, then apply. This will ensure that IP addresses are automatically blocked after a certain number of failed login attempts.
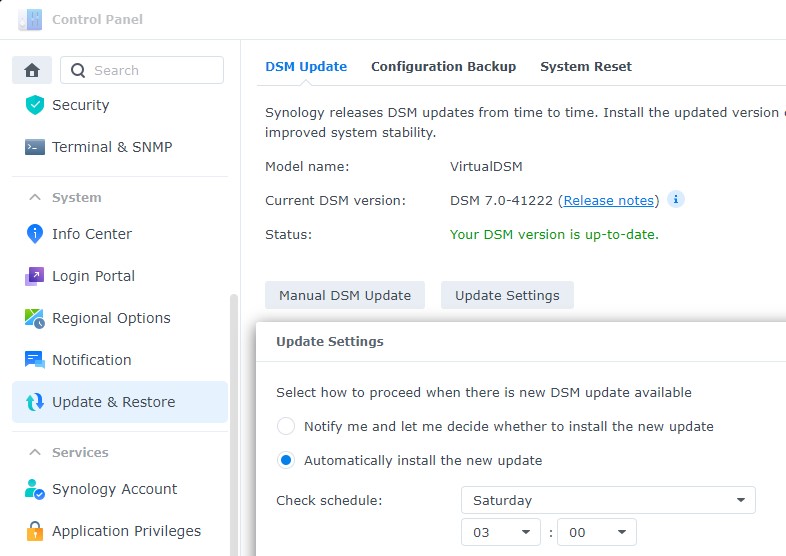
1.5 Synology NAS DSM Update Settings
If you do nothing else, installing Synology’s newest updates should at the top of your list. Not only do you get new features, but more importantly, you get the newest security enhancements.
1. Open Control Panel and select Update & Restore.
2. Select Update Settings and Automatically install the new update. Pick a date and time (preferably during the middle of the night) that updates will install.
2. Accessing a Synology NAS Outside of your Local Network
There are varying degrees of security when it comes to accessing your NAS outside of your local network. Your entire goal should be to limit it as much as you possibly can. Outside of leaving your NAS unplugged, the “most secure” option is to leave your NAS accessible to your local network only. While this might be the safest, it’s also the least accessible. For certain individuals, this is not an option. We will quickly look at different options you can use to access your Synology NAS remotely.
2.1. VPN Server
The “best” way of accessing your NAS is by using a VPN. The reason is that you’re creating a secured tunnel back to your local network from whatever device you’re currently using.
Not only is a username and password needed, but a certificate (config file) is normally required which means that an attacker must hold the username, password, and certificate to connect to your network. You can set up a VPN server on your NAS quite easily.
I have a tutorial below and written instructions that will show you how to set up OpenVPN on your NAS. If you’d rather not use OpenVPN, another great option is Tailscale which requires no port forwarding and a limited setup.
2.2 Port Forwarding & Synology’s Firewall
While it is generally advised that users do not open the HTTPS DSM port on their router, as long as you’re doing it while using Synology’s Firewall, it’s a perfectly acceptable option. The caveat here is that you generally need to know who should be accessing your NAS and you must limit access by IP address or IP range.
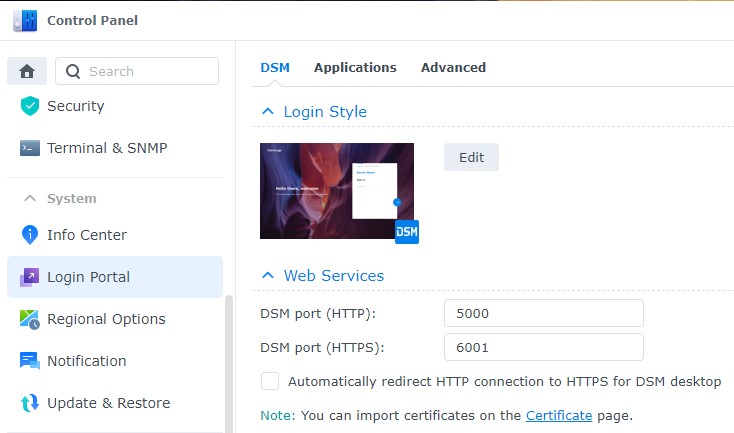
Please keep in mind that simply opening the DSM port on your router will allow you to access your NAS from anywhere in the world, but you aren’t the only one. For this reason, I suggest changing the default HTTPS port from 5001 to something different and using Synology’s Firewall, with 2FA. Again, this is something that you shouldn’t do unless there’s an extremely specific reason why – this is a last resort for most, with the main “acceptable” option being that the port is open for one (or a few) external IP addresses.
1. Open the Control Panel and select Login Portal.
2. Change the HTTPS port from 5001 to something different.
Watch the video below to learn more about Synology’s Firewall so you’re comfortable limiting access.
Utilizing this approach will allow you to configure DDNS (you can use any provider you’d like) and access your NAS using that DDNS hostname and the HTTPS DSM port. You will have to port forward the HTTPS DSM port on your router to your Synology NAS, but make sure you use Synology’s Firewall!
2.3 Reverse Proxy & Cloudflare
If you can’t limit access to only a few individual people, your best bet is to use a reverse proxy server, paired with Cloudflare. You’ll have to purchase your own domain for this method, but Cloudflare is a CDN that offers a ton of security features for free. While you certainly won’t need the CDN portion of Cloudflare, you’ll be able to utilize some of the security benefits.
You can learn a little more about Cloudflare here:
This tutorial will show you how to set up a reverse proxy:
3. Data Security & Integrity
Securing the data on your NAS is equally as important as securing connections to your NAS. There are two main ways that you can ensure that your data stays secure.
3.1 Schedule Snapshots
While your goal should be to preventively secure your NAS, that means preventatively securing your data as well. If your NAS supports Btrfs, it is highly suggested that you enable snapshots. This can protect you from minor things like accidental file deletion to major things like crypto lockers that encrypt entire folders.
This is a feature that should not be dismissed and is something that everyone should set up on their NAS the day they purchase it.
3.2 Synology NAS Backups
It cannot be stated enough how important backups are. RAID IS NOT A BACKUP! If the data on your NAS is important to you, you need to back up your data. Following the 3-2-1 backup rule, you must have three copies of your data, on two storage mediums, with one off-site.
There are many different ways of backing up your data. My suggestion is to look at the data that you have that would crush you if you lost it. That data needs to be backed up off-site. There is a common misconception that you must back up everything offsite, and that’s not necessarily true.
For example, it’s significantly more important to back up your personal documents than the operating system files on your device. I have a few tutorials that show you how to back up your data off-site.
How to back up your data to Backblaze B2
How to Back up Your Data to a Remote Synology NAS
How to Back up Your Data to a Remote Raspberry Pi
4. Conclusion & Final Thoughts on Securing a Synology NAS
This tutorial looked at how to secure a Synology NAS. Security is a moving target. If you think that you’re secure today, that doesn’t mean that you’ll be secure tomorrow. That’s why keeping your NAS up to date is incredibly important since updates can patch security flaws.
However, simply running updates will not protect your NAS. Utilizing some of these steps above will ensure that your NAS is secure and in a catastrophic event, can be restored!