If you’ve ever wanted to back up a PC to an external hard drive, you’ll know that purchasing the external hard drive is the easy part, and configuring a backup tool is where things get a little more complicated. That’s where Synology BeeDrive comes in.
Synology BeeDrive allows you to purchase a single device (that looks, and functions like an external hard drive), install a quick application, back up your Windows PC (with macOS backups coming at a later date), set up a sync task, or back up your mobile phone data.
We’ll quickly look at what Synology BeeDrive is, how to set it up, and an overall review of who should use it.
The links below are Amazon affiliate links which means that I earn a percentage of each sale at no cost to you. Thank you for your support.
What is the Synology BeeDrive?
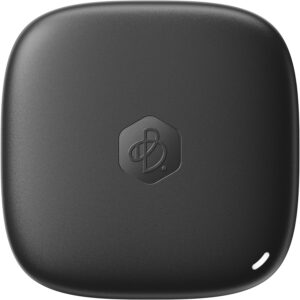
Synology BeeDrive is an external solid-state drive (SSD) that allows you to back up your PC or even your mobile phone. It’s a quick way to back up a device, especially if you’re constantly traveling, or someone who just wants something that works and is easy to use (which is where Synology BeeDrive starts to shine).
For the most part, it functions similarly to an external hard drive, but it comes with a built-in backup tool and sync tool which simplifies the entire process. Plug it in, install the application, and start backing up or syncing your device. It’s really that easy.
The other thing to point out about this device is it’s small. Like, really, really small, measuring 2.56″ (65MM) x 2.56″ (65MM). It’s small enough that it’ll fit in your pocket, so if you’re traveling and want to ensure your data is backed up, Synology BeeDrive is a great option.
BeeDrive Setup Instructions
These steps are how you can set up Synology BeeDrive. We’ll take a look at setting up a sync task or mobile device backup in later steps.
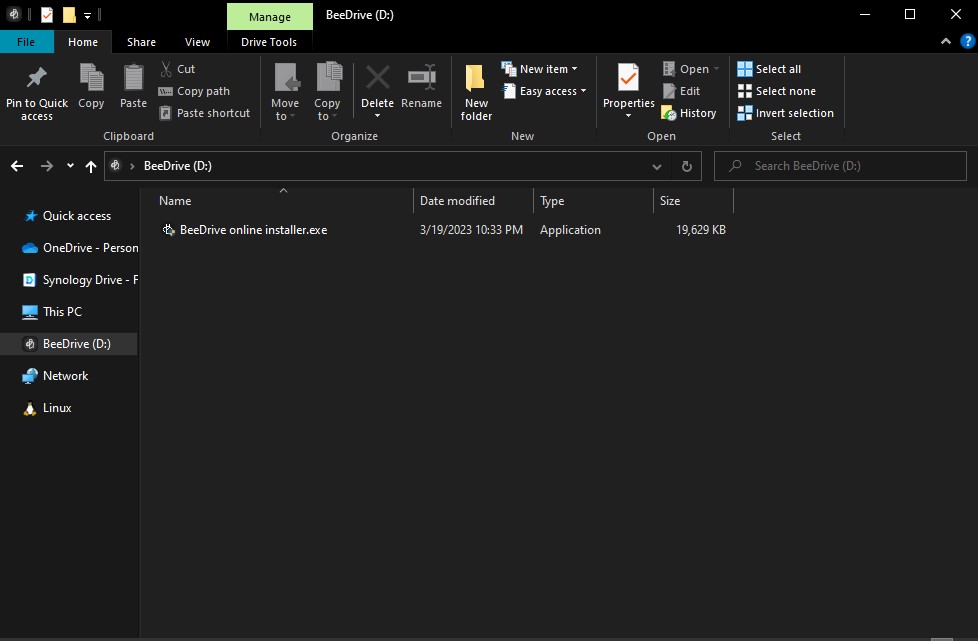
1. When you plug your Synology BeeDrive device in (either using USB-C or USB-A), the device will automatically pop up in Windows File Explorer and bring you to an install file.
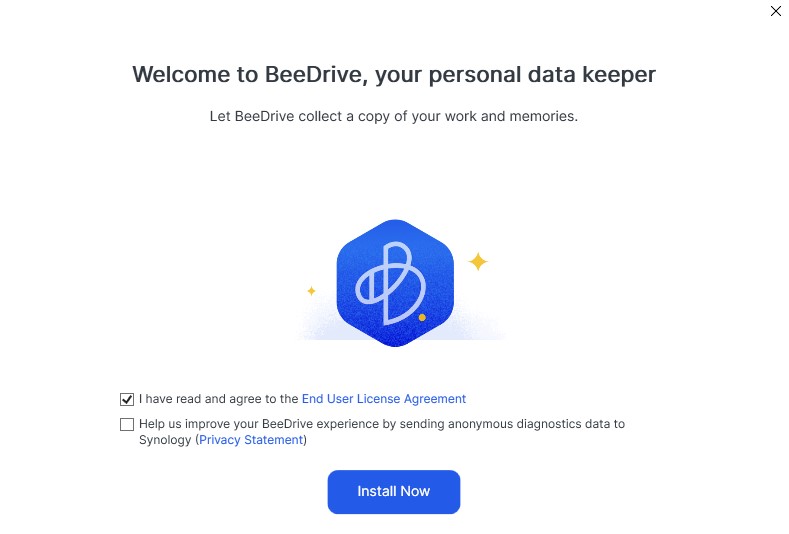
2. After double-clicking and launching the install file, you’ll be brought to the install section. If you agree to the terms of service, check them off, then select Install Now.
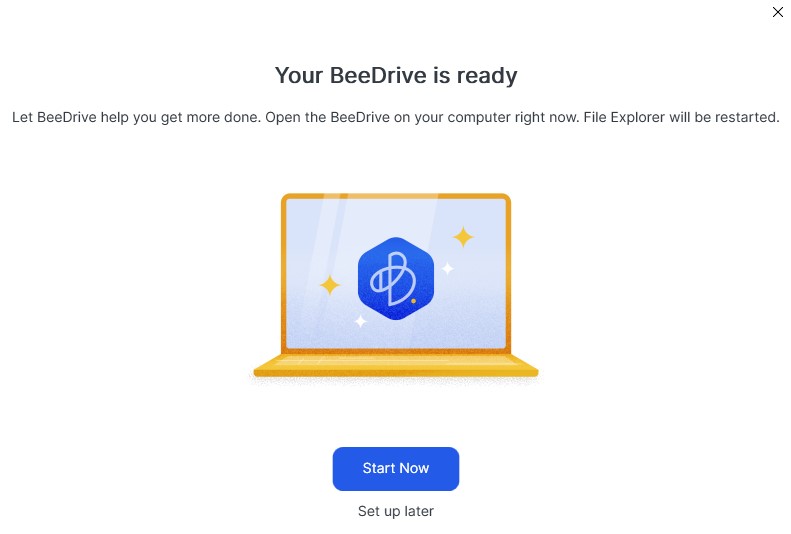
3. Synology BeeDrive will now install. It’s really that simple to install the tool, but the next step will be the actual configuration side. When it’s completed installing, select Start Now.
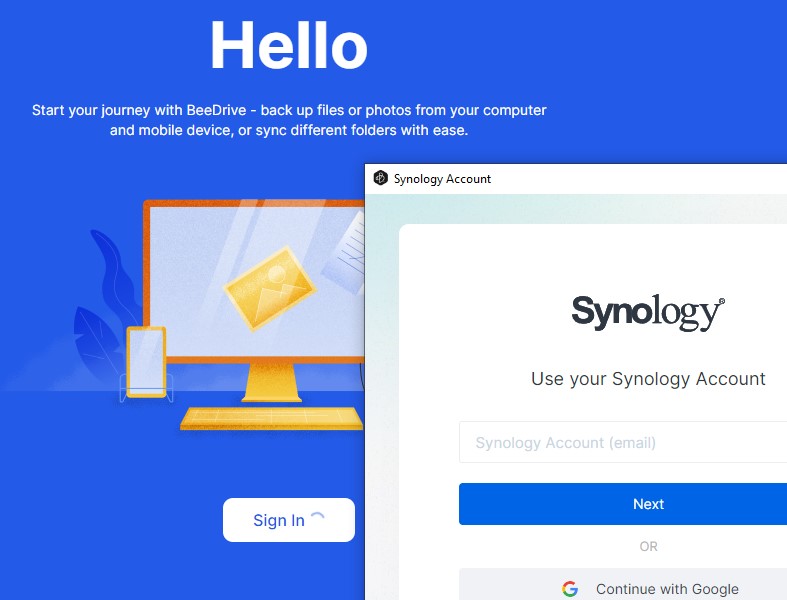
4. After selecting Start Now, you’ll have to sign in with a Synology user account. If you don’t already have one, you’ll have to create one.
5. The initial setup is complete! You can now move on to configuring a backup task!
Configuring a Computer Backup Task
Setting up a computer backup task is what most users should do. The File Sync option (which we’ll look at below) is a sync and not a backup. We’ll distinguish the difference below.
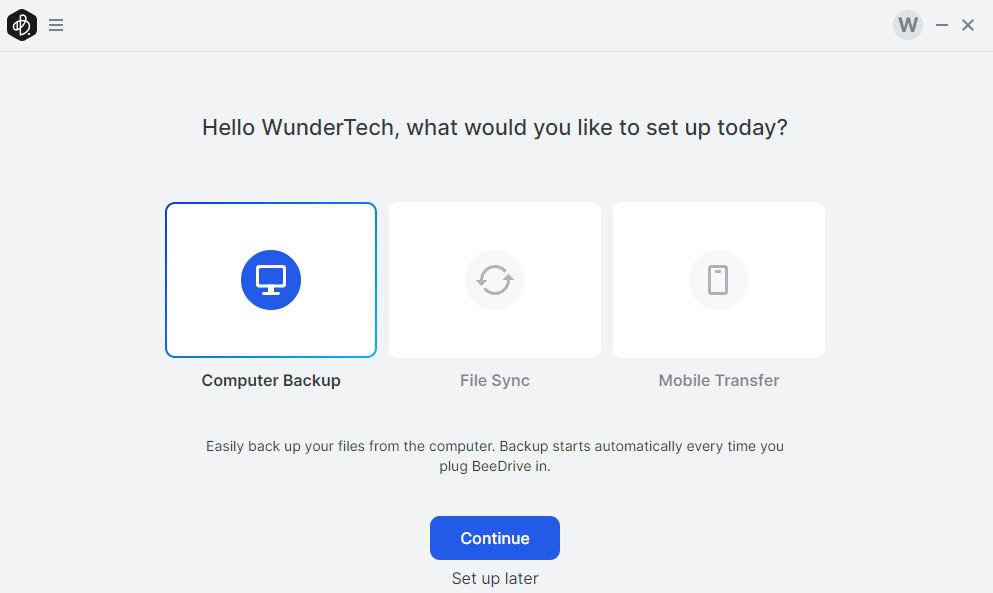
1. To configure a Computer Backup task, select Computer Backup and then Continue.
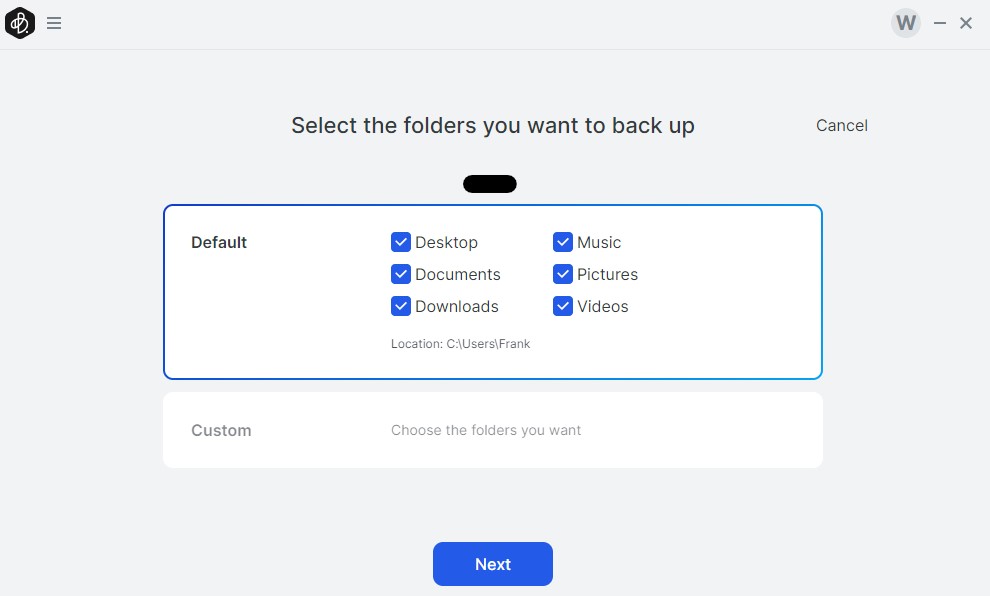
2. In this section, you’ll have two different options. Either you can back up your default folders or you can select custom folders that you’d like to back up.
In general, the default backup settings are good for most people, but if you have multiple folders on your device that you’d like to back up (especially if you have files on a separate hard drive), you’ll have to use the Custom section and select them.
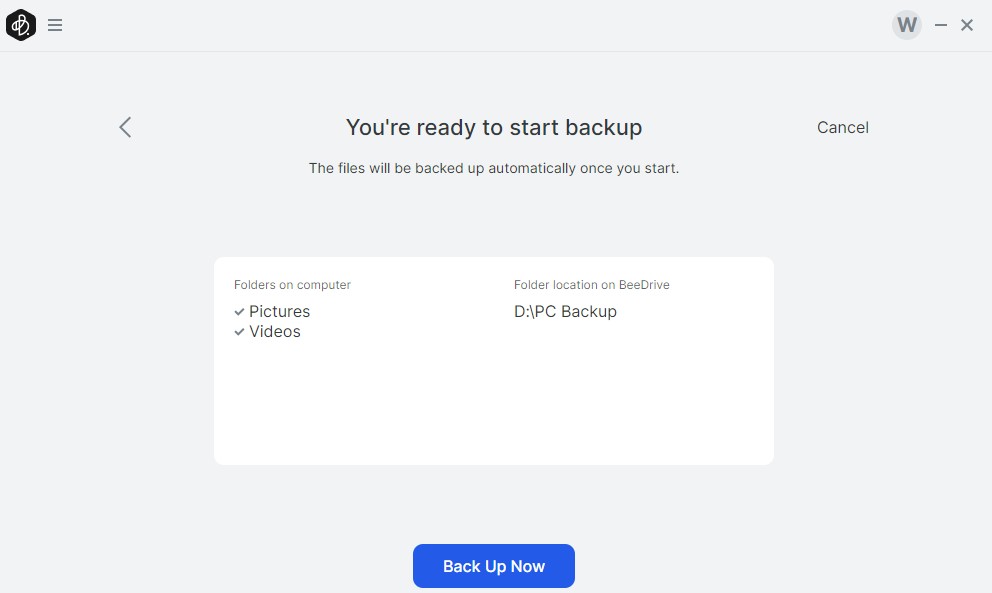
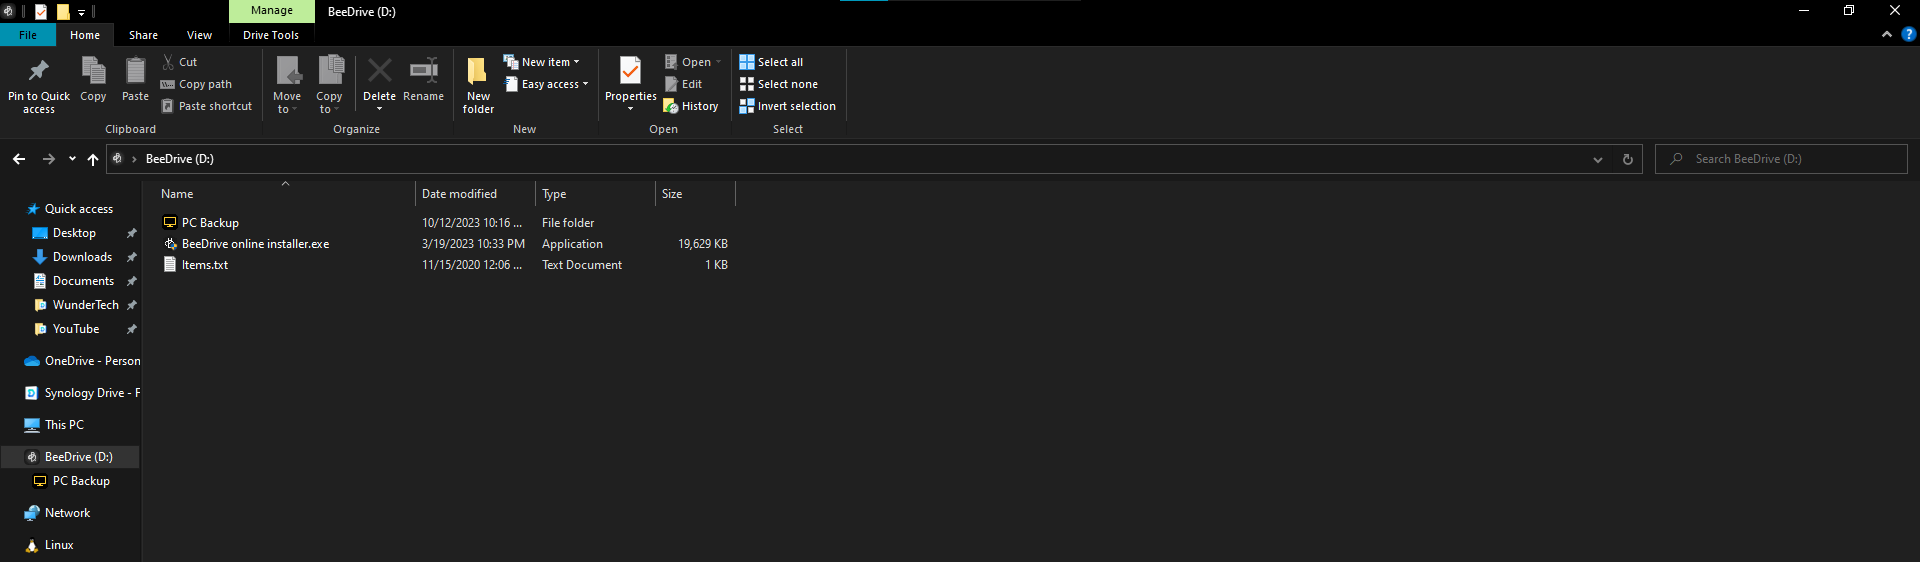
3. Confirm your backup settings, (the D:\PC Backup folder is the Synology BeeDrive), then select Back Up Now. The PC will now back up!
4. The device will back up in the background. If you’d ever like to restore a deleted file, you can open the backup and select Open Archive Files.
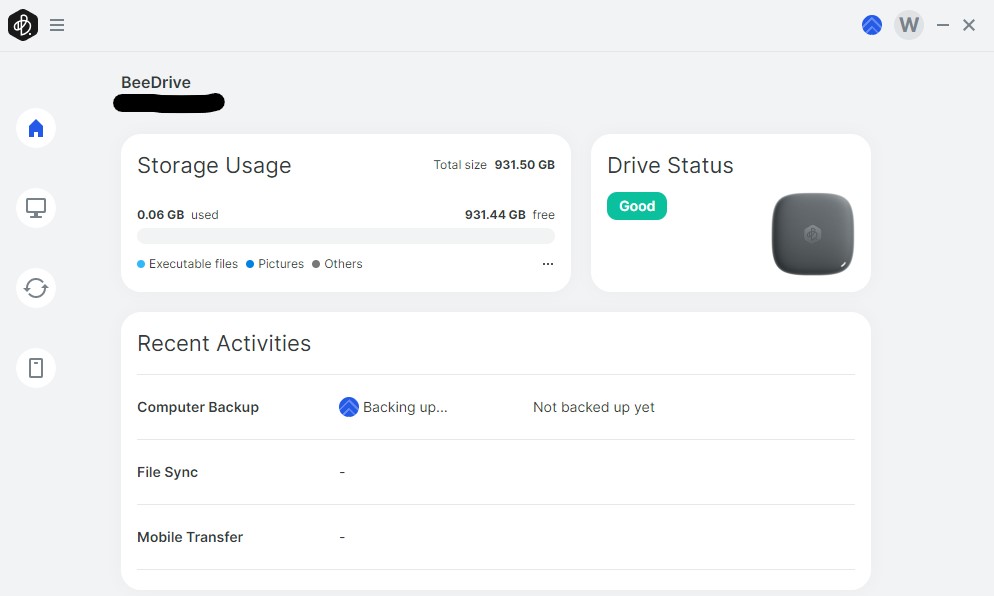
The other way to access your files is by navigating to the Synology BeeDrive in Windows File Explorer. That will allow you to restore files if you ever need to!
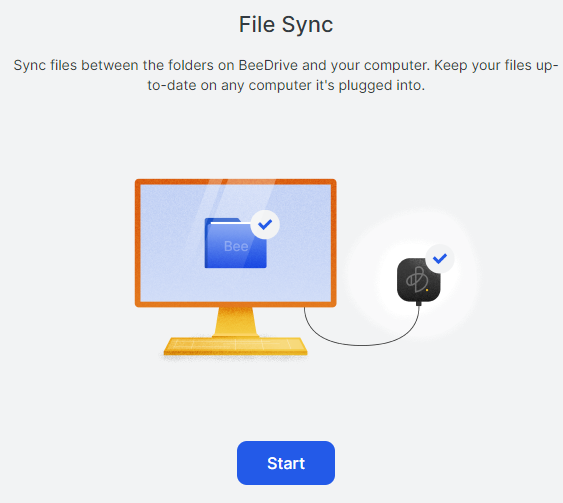
Setting up a File Sync Task
If you want to set up a File Sync task, the data can be written to the external hard drive as soon as it’s added, edited, or deleted. The important point is that a sync is not a backup. A sync will simply move an exact replica of the file to the Synology BeeDrive any time it changes.
If you think of this in terms of data loss, if you have a Microsoft Word file and all of the data is removed from it, the blank file will sync and overwrite the data on the Synology BeeDrive.
If you’d like to utilize this as a backup tool, you must configure versions (though I’d still recommend just using the backup option).
1. Open File Sync and select Start.
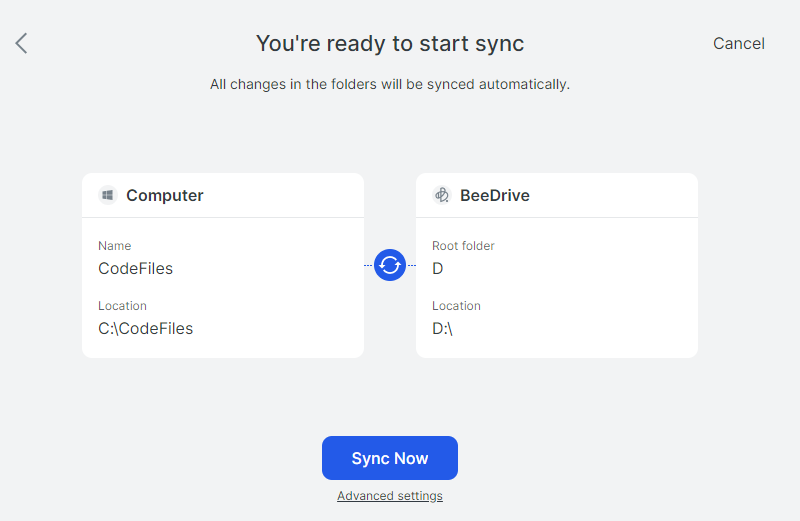
2. The default option will create a BeeDrive folder on your device that will automatically sync with the Synology BeeDrive device. However, you can use a custom folder as well if you’d like (and the custom folder will sync with the BeeDrive instead).

3. Confirm the settings, then select Sync Now to create a sync task!
Mobile Transfers
The final way to back up photos and/or files using Synology BeeDrive is with your mobile phone. There are a few important things to note with the Mobile Transfer option:
- To pair your phone to the Synology BeeDrive, you’ll have to download the mobile app, and then scan the QR code in the BeeDrive app.
- In my experience, the app must be connected to the same network. This means you can pair the device, but cannot connect to an external network and still back up to your BeeDrive.
- In general, it’s a great way to migrate photos/files from your mobile device to your PC.
Synology BeeDrive Review – Who is it For?
Overall, Synology BeeDrive is an extremely easy way to back up a PC, set up a file sync, or just have an external location to back up personal photos or files from mobile devices.
The biggest benefit of Synology BeeDrive is its ease of use. I am confident that almost anyone can use this device, which means that it’s a great way to ensure that people who don’t normally back up their devices (but should) can have their data backed up quickly and easily. Especially when you compare it to the software setups normally required for external hard drives.
To be clear, it’s not particularly hard to set up an external hard drive to back up a PC, and I do prefer Synology NAS devices for local backups, if possible.
However, in both options, there’s going to be some sort of software that has to be configured and it’s probably going to be more complicated than the BeeDrive software. The backup destination will have to be selected, and the process simply isn’t as streamlined.
When you compare that to a tool that has an easy-to-use application, a quick installation, and even the ability to back up mobile phone data, Synology BeeDrive becomes a legitimate contender, and in some cases, potentially the best option.
It’s also a great option for users always on the go due to its lightweight, small form factor, and quick backup process.
There are a few areas I think that the Synology BeeDrive can improve:
- The device is offered in 1TB and 2TB varieties. I’d love to see a 4TB option, but for most, 2TB will be more than enough.
- Some potential buyers may be scared away by the price, but you cannot compare the Synology BeeDrive to an external hard drive. You’re purchasing external storage and an application that’s easy to use. This pairing makes the cost more justifiable.
- Right now, the device does not work with macOS, but support is coming.
Conclusion & Final Thoughts on the BeeDrive
Overall, this is a pretty great device for a lot of people. If I was constantly traveling and wanted to ensure my data was backed up, I would strongly consider this due to its simplicity, and small form factor.
There are other backup options (and you’ll be forced to use one of those options if you need more than 2TB), but if you want something easy (or the user that will be using it isn’t that technically inclined), the Synology BeeDrive is a great tool.