In this tutorial, we will look at how to install Proxmox VE. Proxmox VE is a type-1 hypervisor that can run different operating systems virtually. It’s Debian-based and allows you to set up different virtual machines or containers.
Overall, Proxmox is a great hypervisor that will allow you to get into virtualization quickly as it’s very user-friendly. There’s also tons of great information online about it so you’ll have a lot of support when trying to implement different solutions.
Proxmox VE is free, though they do offer a license that will give you paid support. There’s a popup that occurs when you install the free version of Proxmox, but you can simply click through it to use the OS.
Prerequisites to Installing Proxmox
We will look at how to install Proxmox VE below. Please make sure that you download the latest Proxmox VE ISO installer. To write the ISO image to a USB stick, you can use a tool like Etcher for Windows, Mac, or Linux.
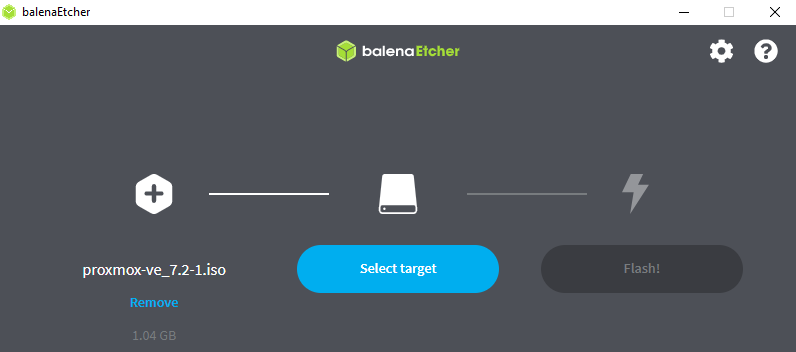
Creating a Bootable Proxmox VE USB Drive – Etcher Instructions
After you download and launch Etcher, select the Proxmox VE ISO image, select your USB stick, then Flash! This will write the ISO image to the USB stick.
After it’s done writing, you’ll have to boot your machine from this USB stick. Every machine will be different, but if you’re having trouble, enter the BIOS and make sure that you can boot from USB.
You must also confirm that the machine you’re using supports virtualization and that it’s enabled in the BIOS.
How to Install Proxmox VE
After you boot from the USB drive that we created in the last step, there are a few different settings that you’ll have to configure in order to finish setting up Proxmox.
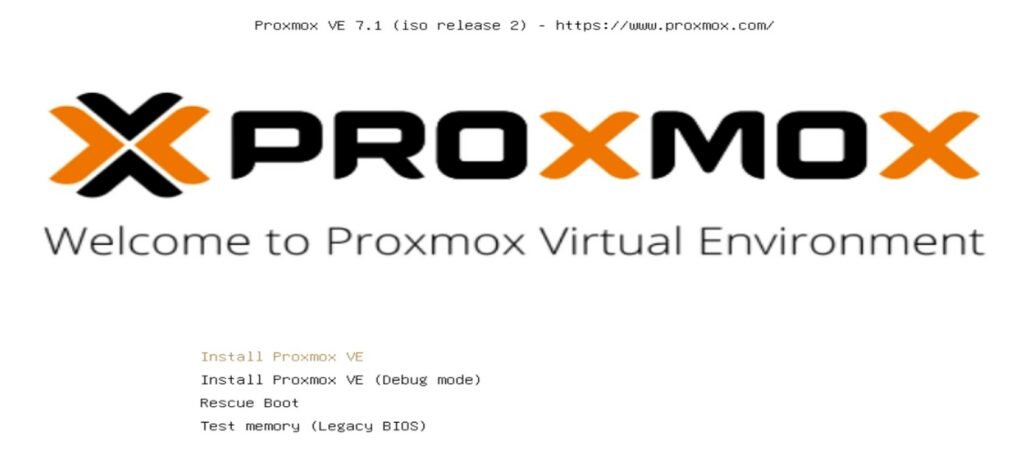
1. At the first screen, select Install Proxmox VE.
2. If you agree with the terms, select I agree.

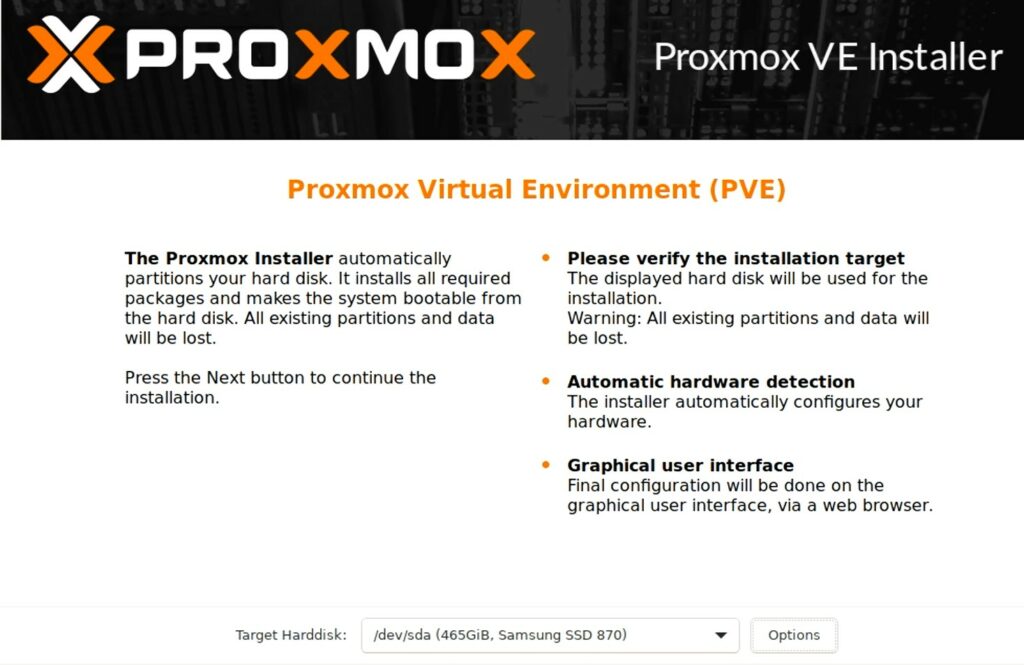
3. Select the target hard disk where you’d like to install Proxmox VE. When you’ve selected the correct hard drive, select Options.
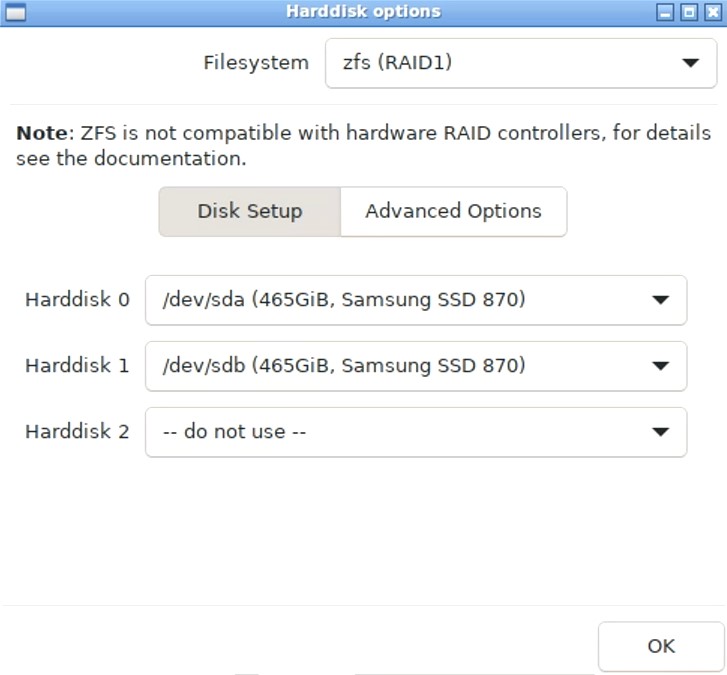
4. These options will allow you to select the filesystem that you’d like to use. If you want to utilize software RAID, you can configure it as well. You also have the option of using other file systems (Ext4 for example) if you only plan on using one hard drive. Select OK and then proceed to the next step.
5. Select your Country, Timezone, and Keyboard Layout, then proceed.

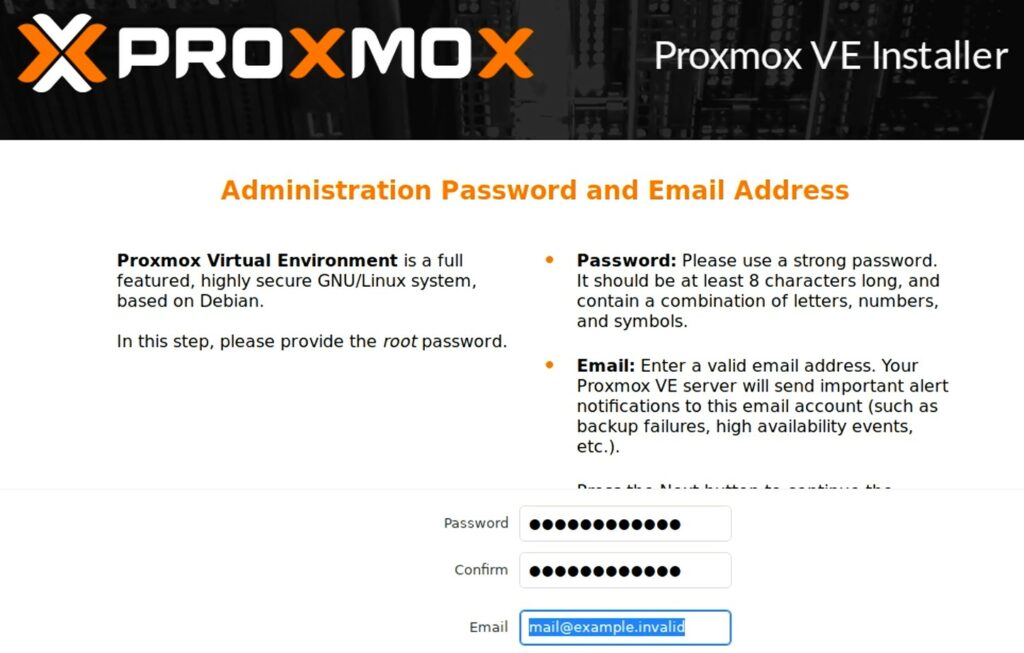
6. Enter in the administrator password that you’d like to use, an email address, then proceed.
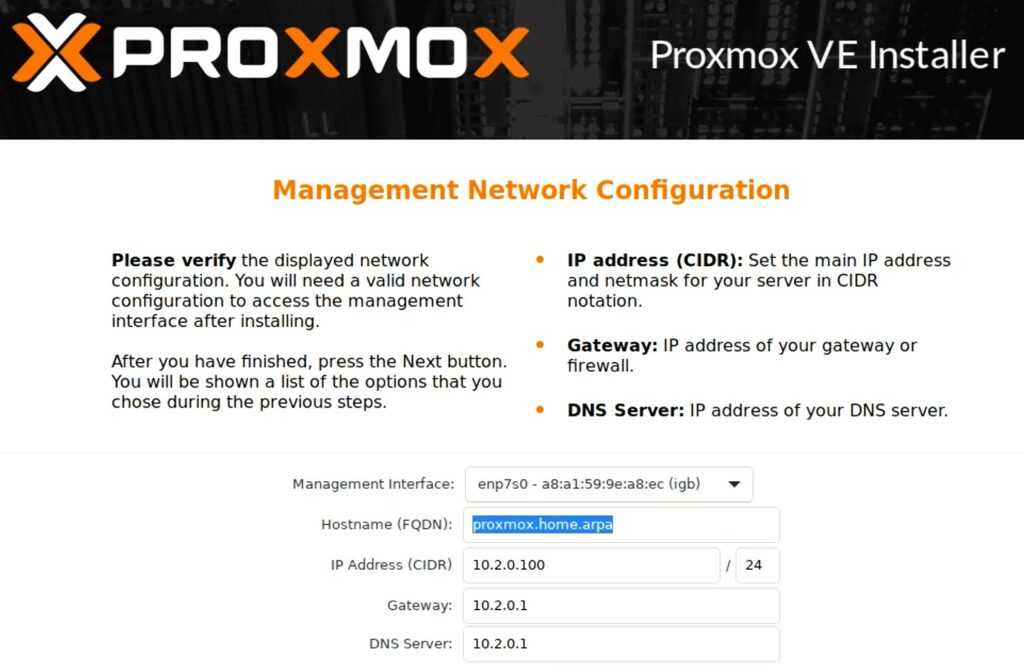
7. Select the correct Management Interface, enter in a hostname (this is important, because renaming a node later isn’t the easiest), then set the IP address that you’d like to use, as well as the gateway and DNS server.
NOTE: If you can set up DHCP leases on your DHCP server (most people’s router), set a DHCP lease for Proxmox so that the IP address never changes.
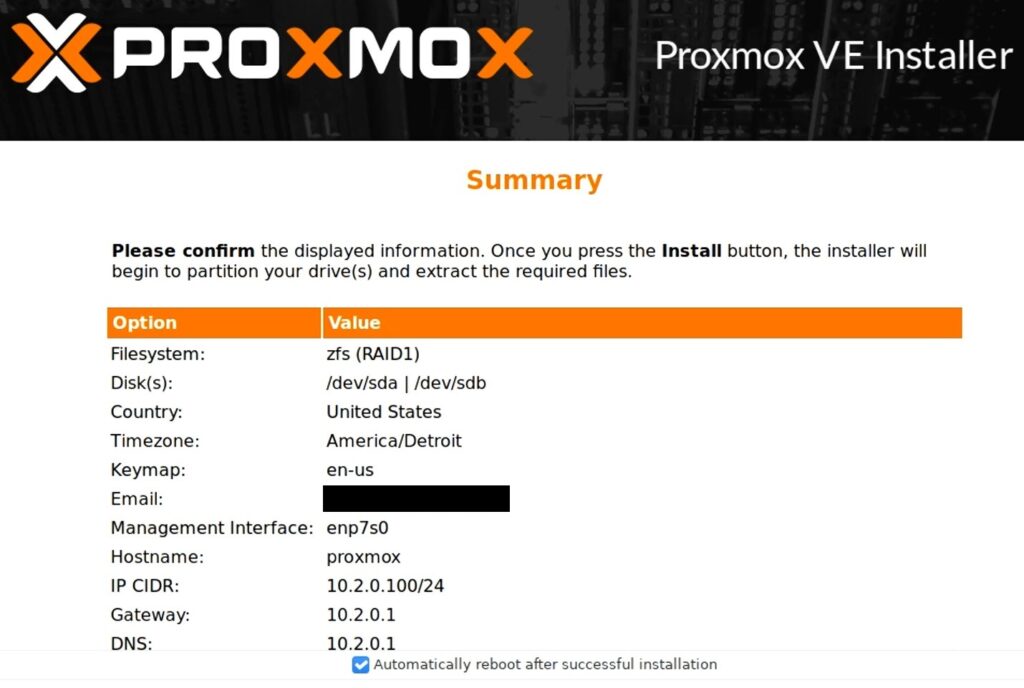
8. A summary page will appear – confirm all the settings are correct and proceed.
9. Proxmox will now install!
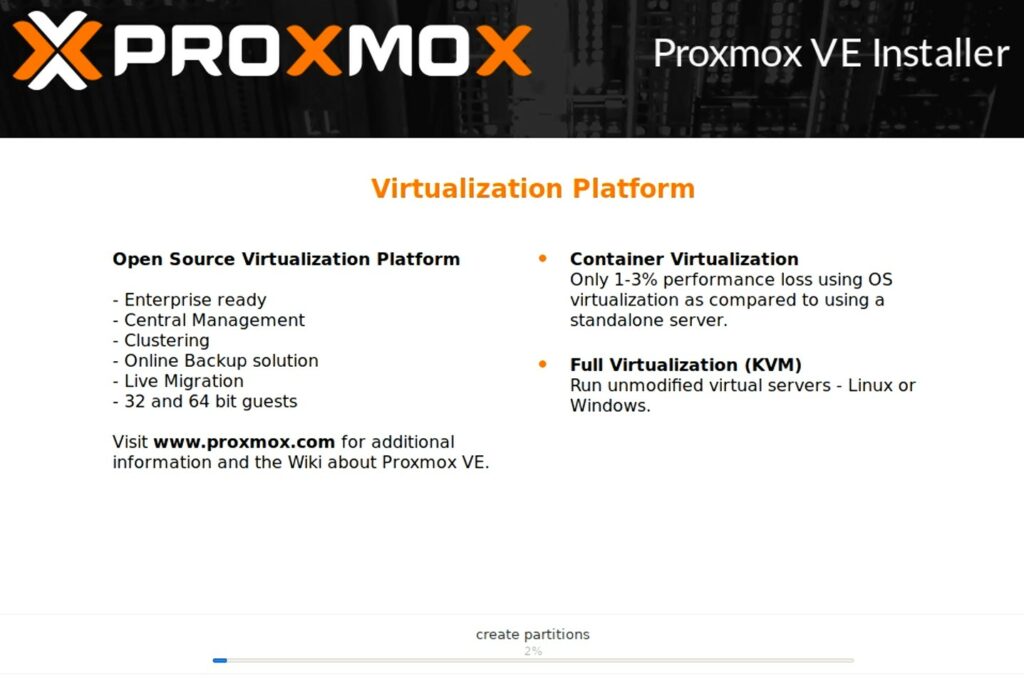
10. Give the installation process a little while to install and reboot. When it does, you should be able to access Proxmox by navigating to the IP address and port listed below.
https://PROXMOX_IP:8006
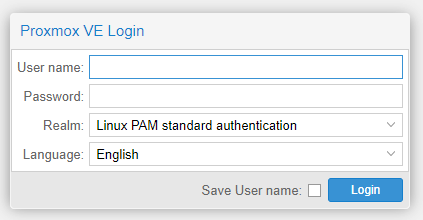
11. Login with the username root and the password you set up above.
Proxmox Management Interface
The Proxmox web interface is where you can set up virtual machines and containers, access the console, add storage, and much, much more.
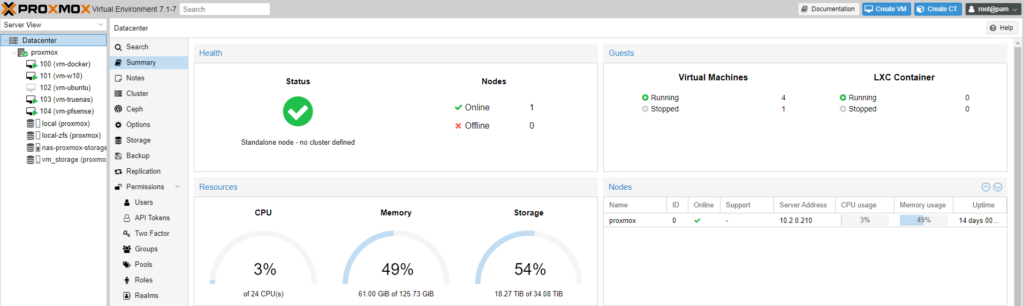
At this point, you’re prepared to set up your first virtual machine or container. Select Create VM or Create CT in the top right to create your first container. Since Proxmox is a hypervisor that runs on bare metal, you’ll be able to install a ton of different VMs/Containers!
Installing Updates
By default, Proxmox does not use the no subscription repository, meaning that a paid subscription is required for updates. You can use the no subscription repository for free if you’d like (though Proxmox doesn’t guarantee the same level of stability as with the enterprise version). There are some changes that must be made to the Proxmox host to use the no subscription repository which can be found in this Proxmox update tutorial.
If you have any questions on configuring Proxmox VE or installing updates, please leave them in the comments!