In this tutorial, we are going to look at how to install Jellyfin on Unraid.
Jellyfin is an open-source media service that’s installed in Docker. The biggest benefit that Jellyfin offers is the ability to stream data remotely for free. Overall, it’s tough to crown a specific winner for the best media streaming service as everyone will have different needs, but it’s a great platform to check out.
We will look at how to install Jellyfin on Unraid below, but the process will be slightly different for everyone as the media they have stored on their NAS will differ by location. Therefore, ensure you enter the correct location when configuring the container!
Before looking at how to install Jellyfin on Unraid, you need to ensure that you have your media (Movies, TV Shows, Music, etc.) on your NAS in a share. The folder structure isn’t important, but the files must live on your NAS.
How to Install Jellyfin on Unraid
We will look at how to install Jellyfin on Unraid below, but will be utilizing the Apps section in Unraid. Please make sure that you install it first (it’s only a few clicks to install it).
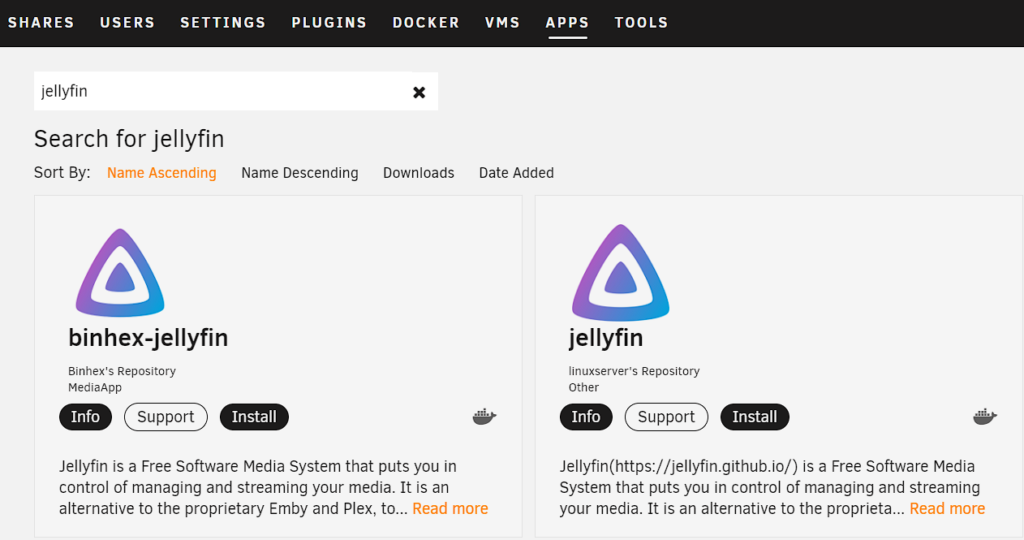
1. Log in to Unraid and select Apps, then search for Jellyfin. Select Install on Jellyfin (linuxserver’s Repository).
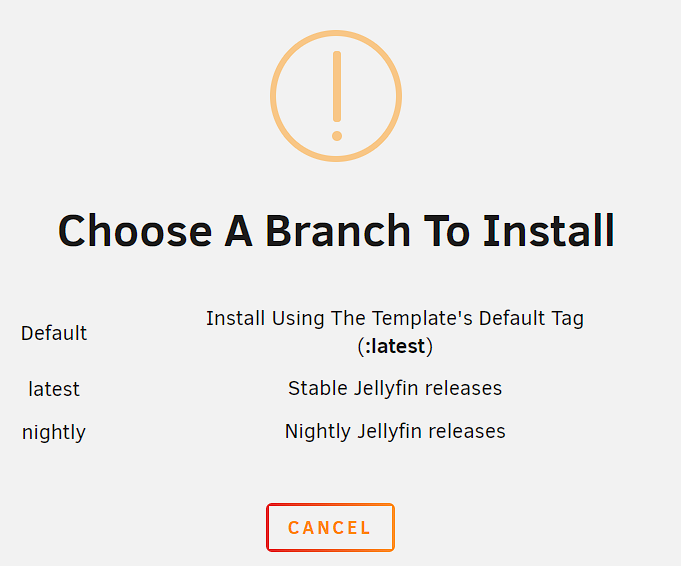
2. Select the Latest branch (stable Jellyfin releases).
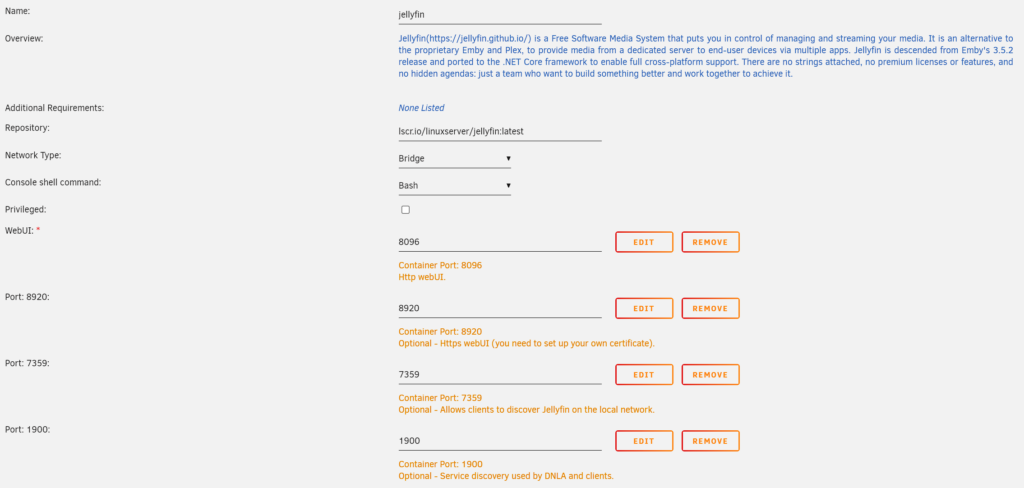
3. The configuration for the container will come up. Set the container to use the name you’d like, then modify the ports if desired (default values are generally fine for most).
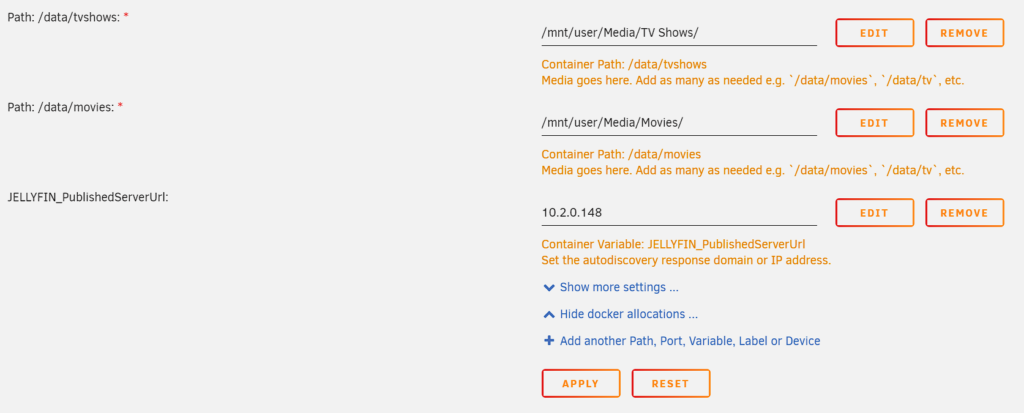
4. In the TV Shows path, enter the location on Unraid where you’re storing your TV Shows. Do the same for the Movies section. Then set the JELLYFIN_PublishedServerUrl to be the local IP address of your Unraid server.
NOTE: Please keep in mind that while this is listed as Movies/TV Shows only, if you’d like to add anything else, you can by selecting Add Another Path at the bottom. Then map the folder to the correct host path and set the container path to be whatever you’d like.
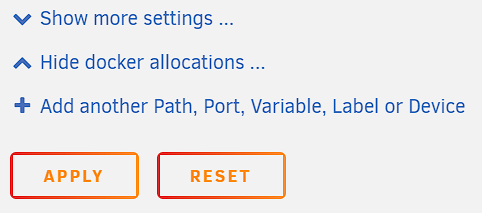
5. All other settings can stay as default. Select Apply to create the container! The image will download and the container will configure!
6. Open a web browser and navigate to the IP address below. Port 8096 is the default port for all Jellyfin installations.
http://[NAS_IP]:8096Jellyfin Setup – How to Install Jellyfin on Unraid
The process above looked at how to install Jellyfin on Unraid, but the steps below will show how to set up the container.
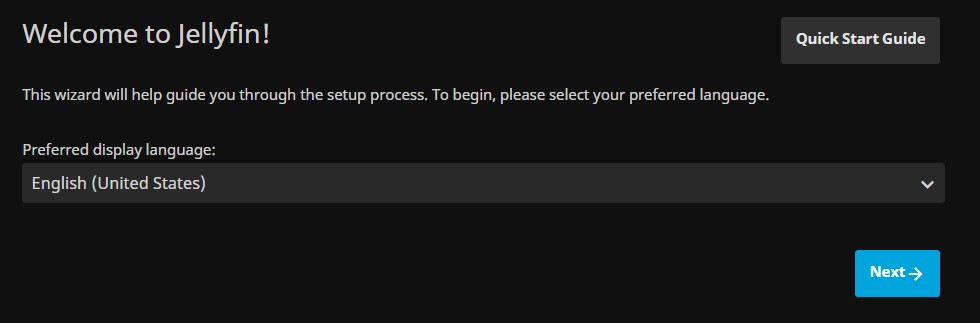
1. You will be brought to the default Jellyfin page. Pick your language, then select Next.
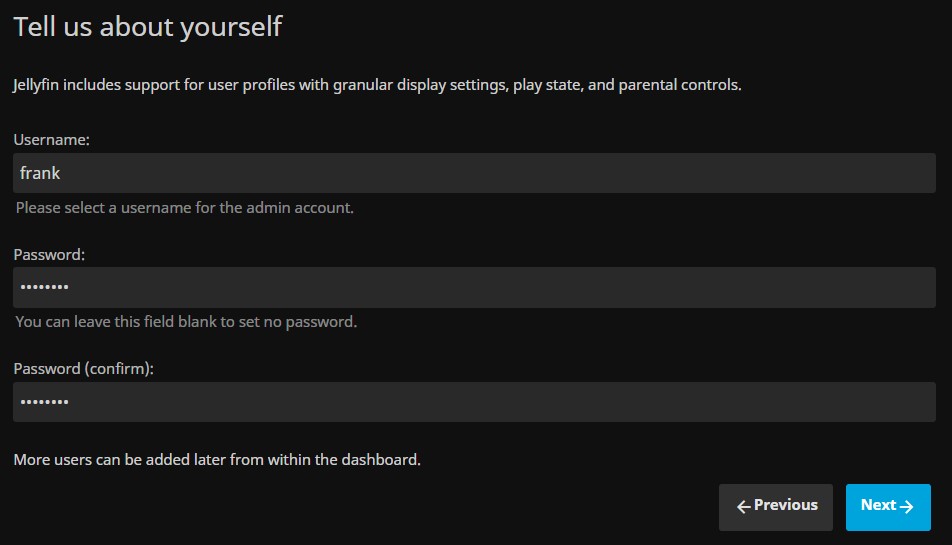
2. Enter a username and password, then select Next.
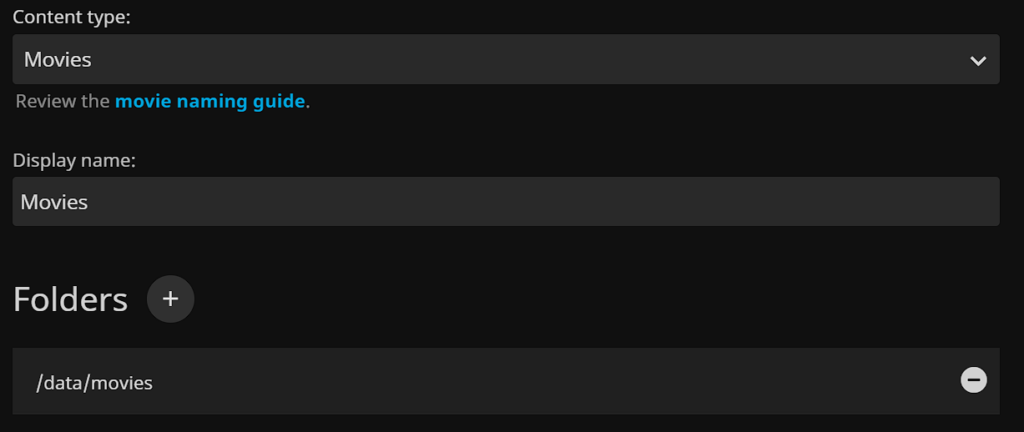
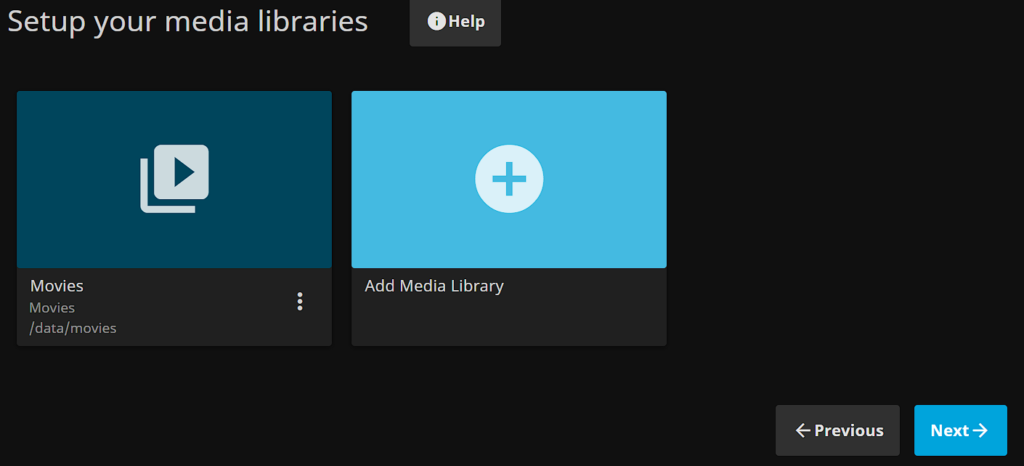
3. You will now need to enter your media libraries. Select Add Media Library, enter the content type, and then add a new folder.
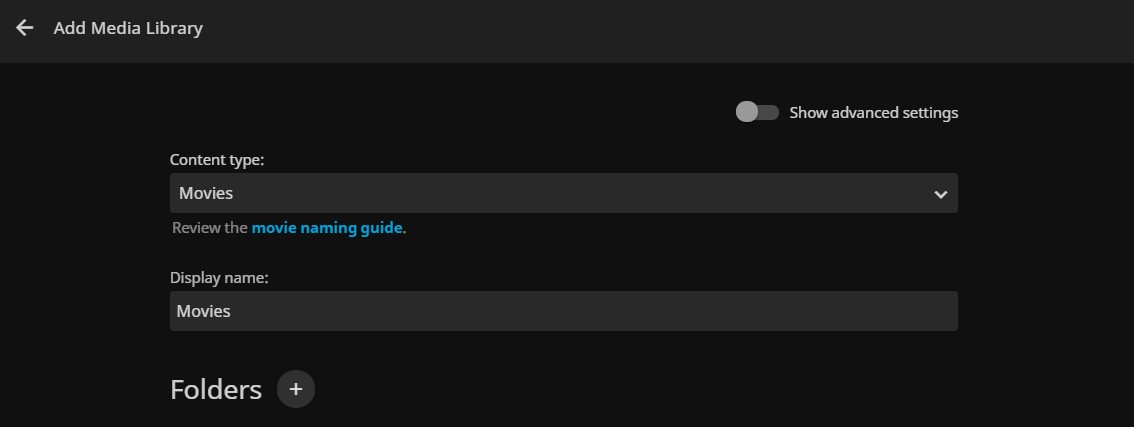
4. In this section, you will need to select the folder that you added earlier. This will be completely user-specific, but you need to map the content type to the top-level folder.
This means that the Movies content type should be mapped to the Movies folder. Edit any additional settings that you’d like and select Ok.
5. Complete step 4 for all media types that you have, then select Next.
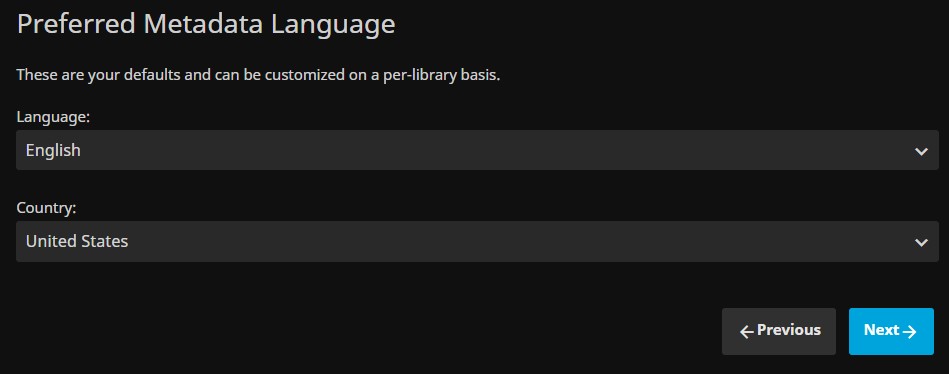
6. Select your preferred metadata settings, then select Next.
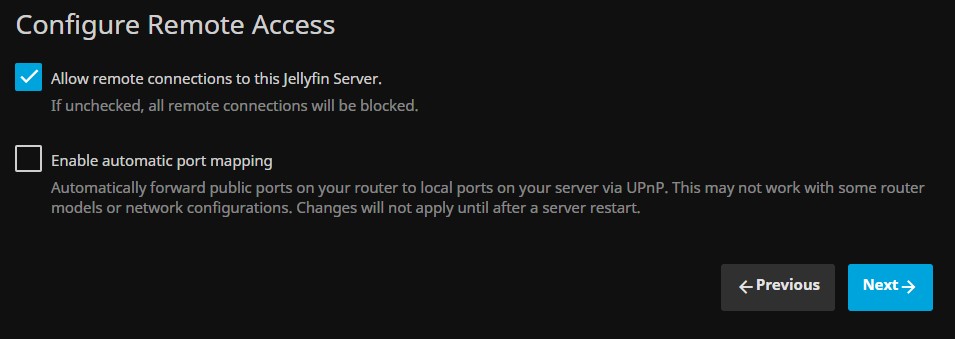
7. Configure your remote access settings. I highly suggest that you keep the second UPnP option deselected, as UPnP is an overall security risk.
If you’d like to access your data remotely, I suggest that you use a VPN like OpenVPN or Tailscale, and port forwarding (potentially with a reverse proxy), only if that’s not possible.
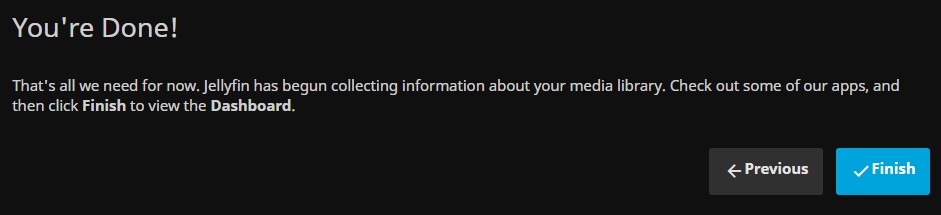
8. Select Finish. The setup process is now complete!
9. The media that you have will now sync. This process will be different for everyone as it’s generally based on the overall media size. If your media library is large, the best thing you can do is leave it overnight and check back in the morning.
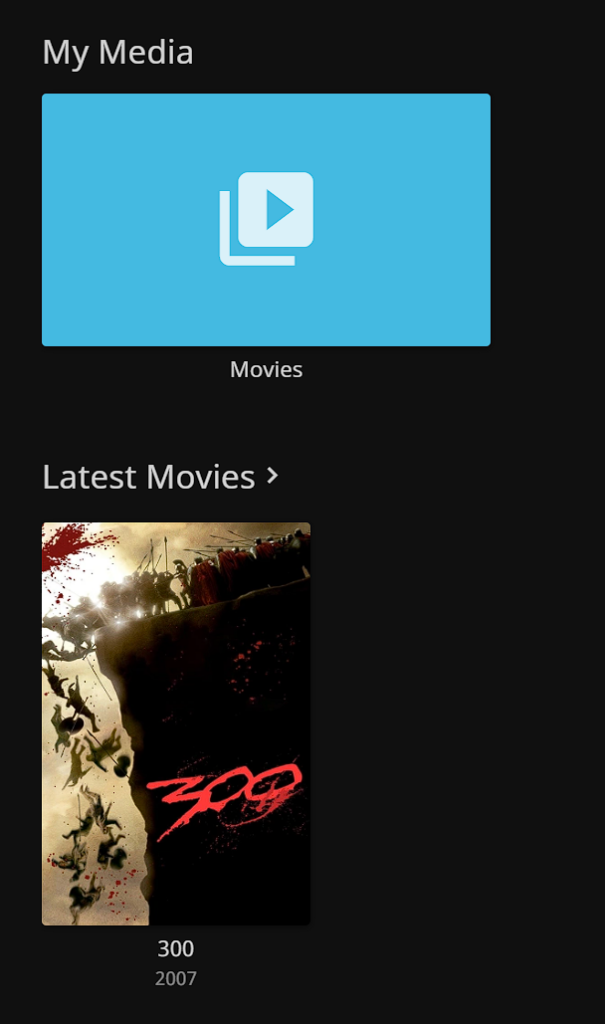
After the media finishes crawling, it should display your cover art!
10. If you’d like to modify some of the admin settings, select Settings and then Dashboard under the admin section. There are a bunch of settings that can be changed here.
Conclusion: How to Install Jellyfin on Unraid
This tutorial looked at how to install Jellyfin on Unraid! Jellyfin is awesome and it also has the benefit of being open-source with a lot of the “premium” features that other services charge for.
That’s not to say it’s an overall better platform or that you should switch from the application that you’re currently using, but it’s a great alternative.
Thanks for checking out the tutorial on how to install Jellyfin on Unraid. If you have any questions on how to install Jellyfin on Unraid, please leave them in the comments!