In this article, we’re going to look at how to back up to Unraid with Time Machine, using the most recent macOS.
Time Machine allows you to back up the local files on your Mac to a separate device like a hard drive or NAS. The process that we will follow utilizes SMB and allows you to back up your Mac using the latest OS to an Unraid server.
Unraid is a great device for Time Machine backups, as well as various other things. One of the main benefits of using a NAS is the data will stay on your local network and you’ll control everything. It also avoids any cloud storage expenses, though it’s important to keep in mind that for extremely important data, you should be following the 3-2-1 backup rule.
How to Back up to Unraid with Time Machine
We will look at how to back up to Unraid with Time Machine below.
1. Select Shares, and then Add Share.


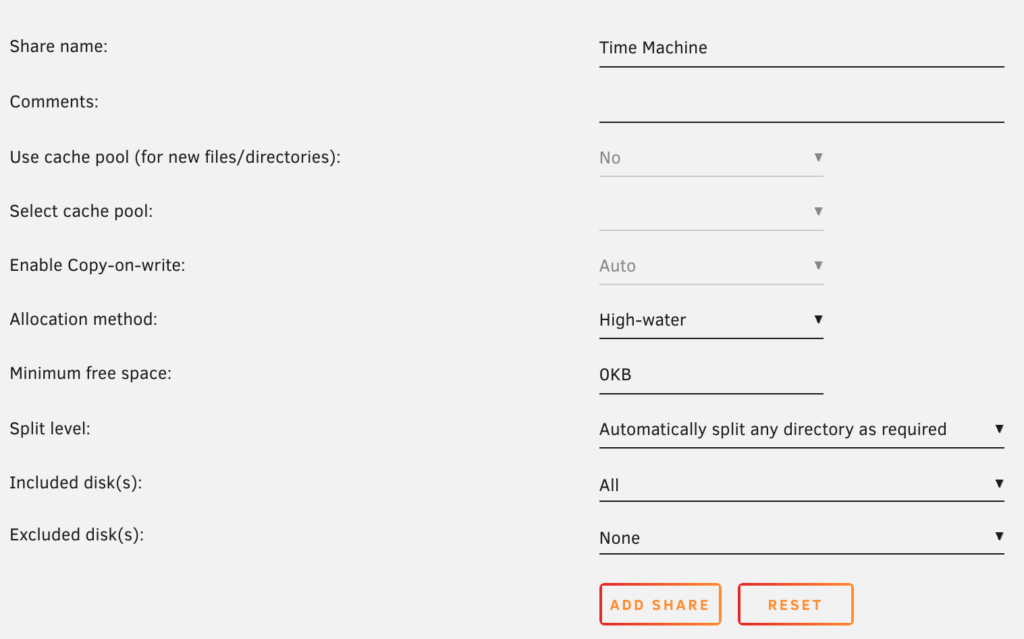
2. Create a new share named Time Machine, then select Add Share.
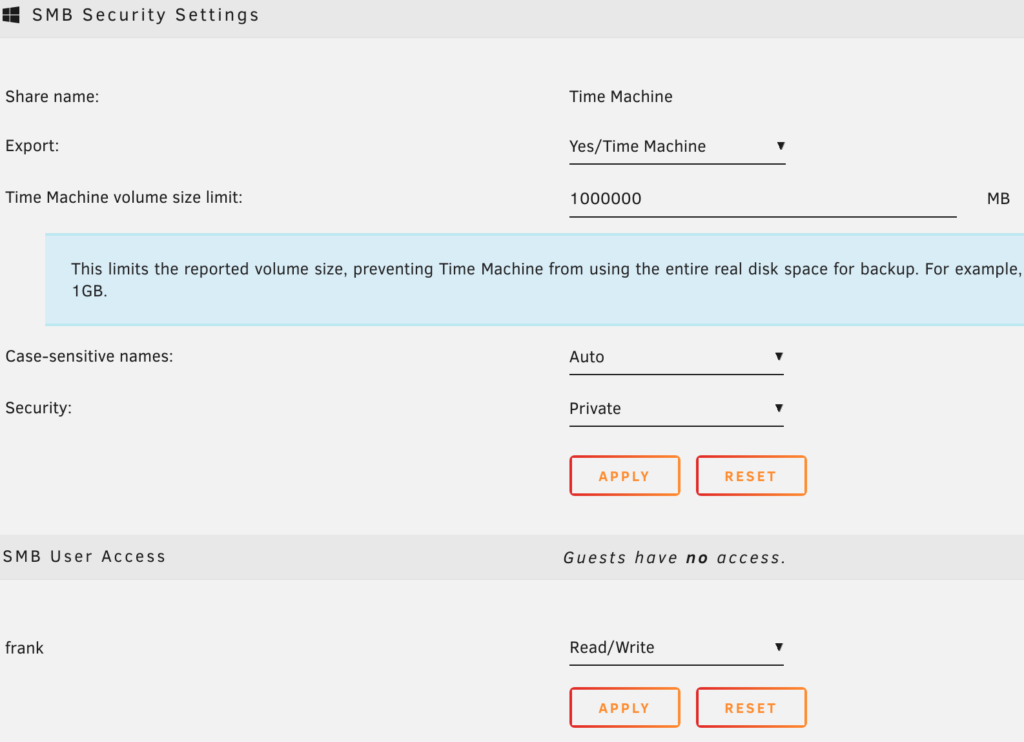
3. In the SMB Security Settings, change the settings to match the information below. We are changing these settings because Time Machine works by utilizing all available space, meaning that if you have a NAS with 10TB of storage space, Time Machine will use all of the free space available. By setting this parameter, you will limit the total storage space that Time Machine can use.
- Set Export as Yes/Time Machine.
- Set the Time Machine Volume Size Limit to be the total value that you’d like to use. I’ll be setting it as 1,000,000 MB.
- If you’d like this to be a private folder, change the security to private, then apply. Make sure you give a user permission!
4. Finally, we need to update SMB settings. In the dashboard, select the stop icon to stop the array.

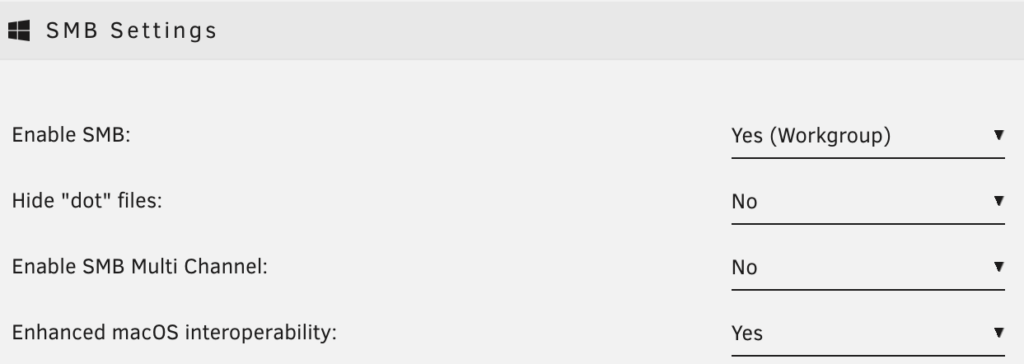
5. Select Settings, then SMB.

6. Make sure that SMB is enabled, and macOS interoperability is set as Yes. You can then apply and restart the array.
Connecting to Time Machine in macOS
Now that Unraid is configured, we’re going to connect our Mac to Time Machine. Before opening Time Machine, we have to connect to our Unraid server. This will allow us to see the Time Machine shared folder that we created inside of Time Machine.
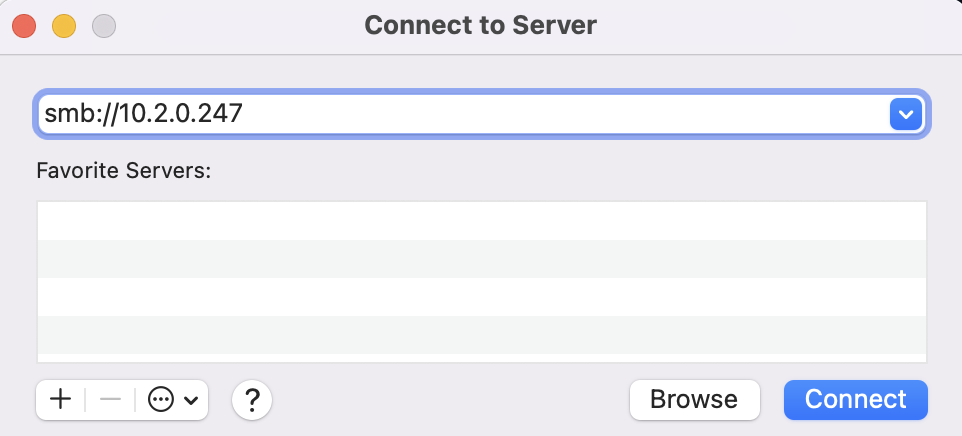
1. On your keyboard, press Command + K to open the Connect to Server window. Enter the IP address of your Unraid server, then press Connect.
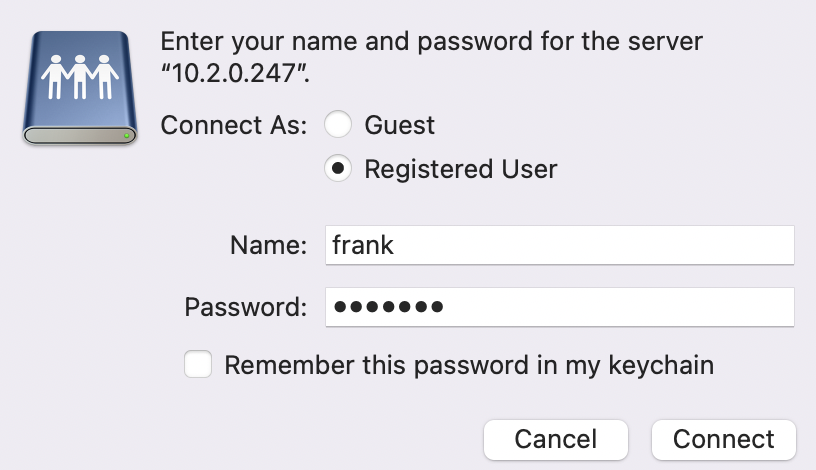
2. Enter the username and password of an Unraid user, then select connect.
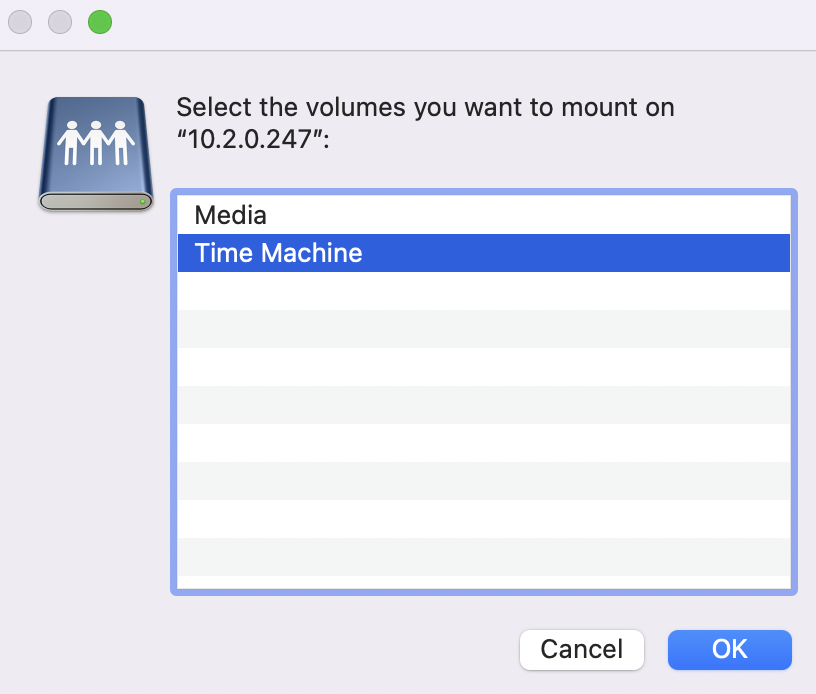
3. Select the Time Machine share, then press OK. After you connect, you can close out of the window. We are doing this so that the Time Machine share is accessible from Time Machine. After the window appears, you can close it and move on to the next step.
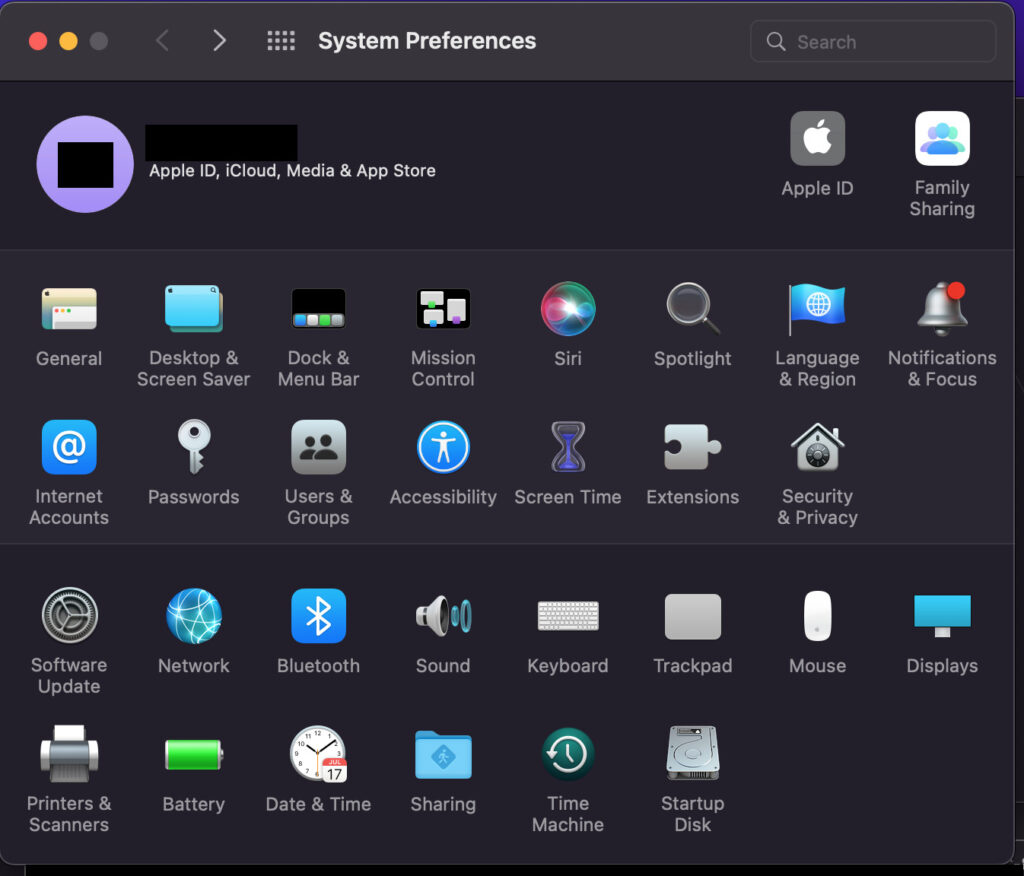
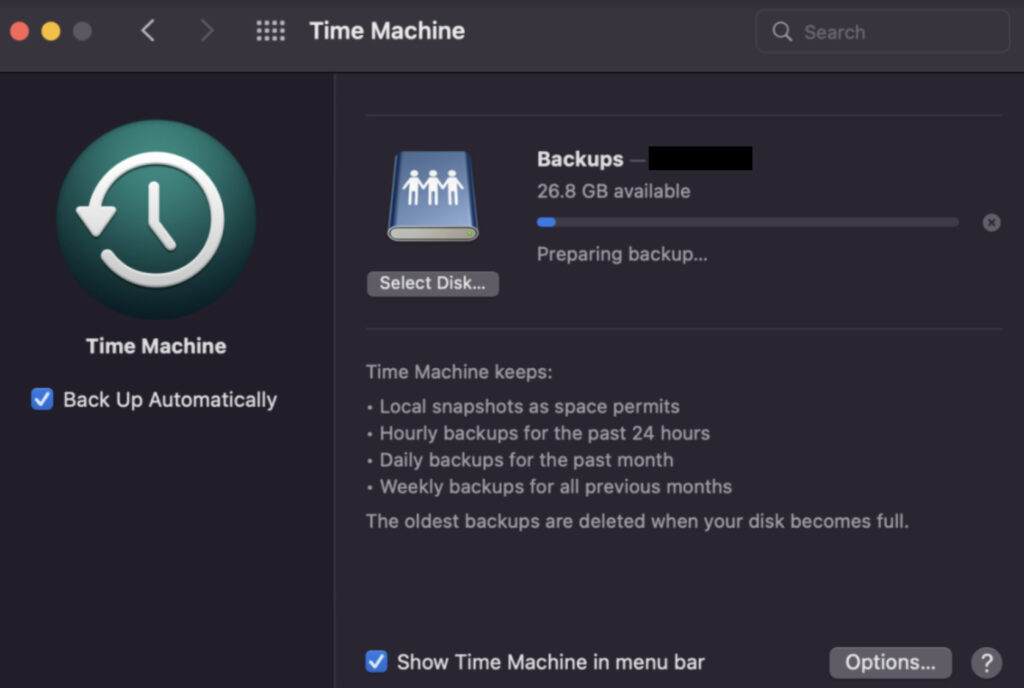
4. Navigate to System Preferences, then select Time Machine.
2. Select Back Up Automatically to ensure that Time Machine is constantly backing up your Mac.
NOTE: If you’d like the Time Machine icon to display in your menu bar, select Show Time Machine in Menu Bar.
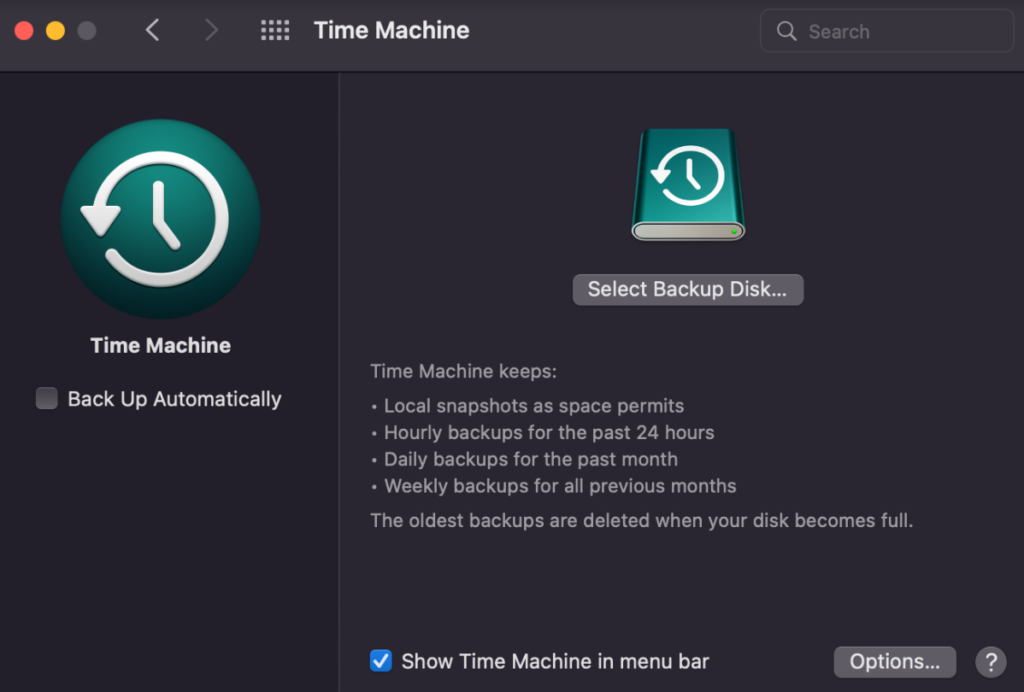
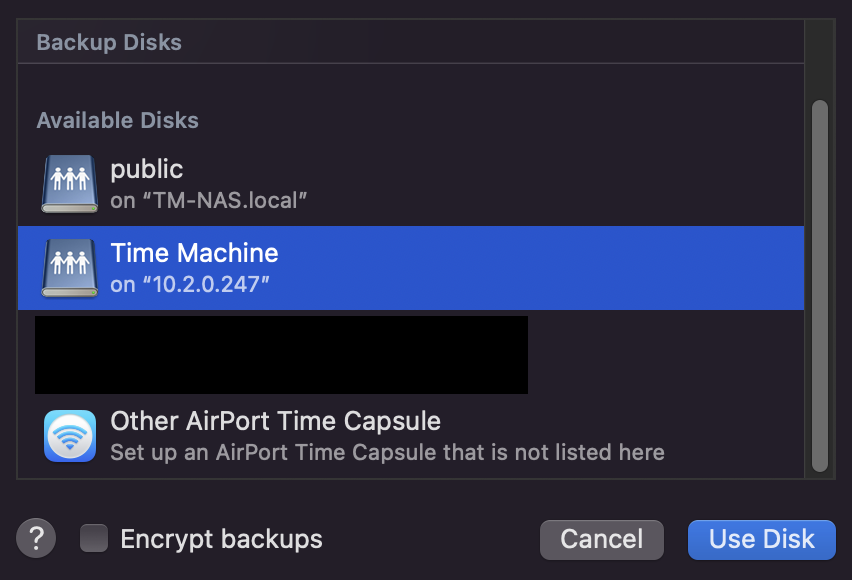
6. Select your Unraid servers folder as the destination (in my case, Time Machine at the IP address 10.2.0.247), then select Use Disk.
NOTE: If you’d like to encrypt the backup, you can select Encrypt backups. A password will be required at a later step to encrypt the backup.
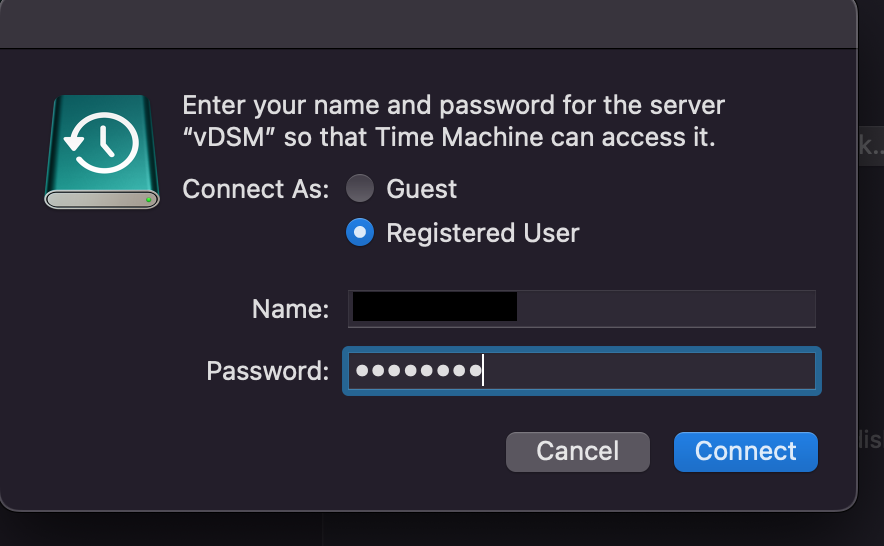
7. You should receive a popup asking you to connect. Select Connect, then at the next step, enter the user and password that you’d like to use to connect to your shared folder. This will be an Unraid user, so you must ensure that the user you’re connecting with has permission to the Time Machine folder.
8. Your backup will now run! Depending on how large your system is, it will take some time to fully back up from macOS to Unraid.
How to Restore Files with Time Machine
Now that Time Machine has been set up on Unraid, we can restore files from it if we ever need to. I am not going to discuss how to restore an entire Mac, however, we’ll look at how to restore individual files below.
1. Open Launch Pad.
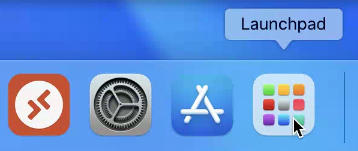
2. Search for Time Machine and launch the application.
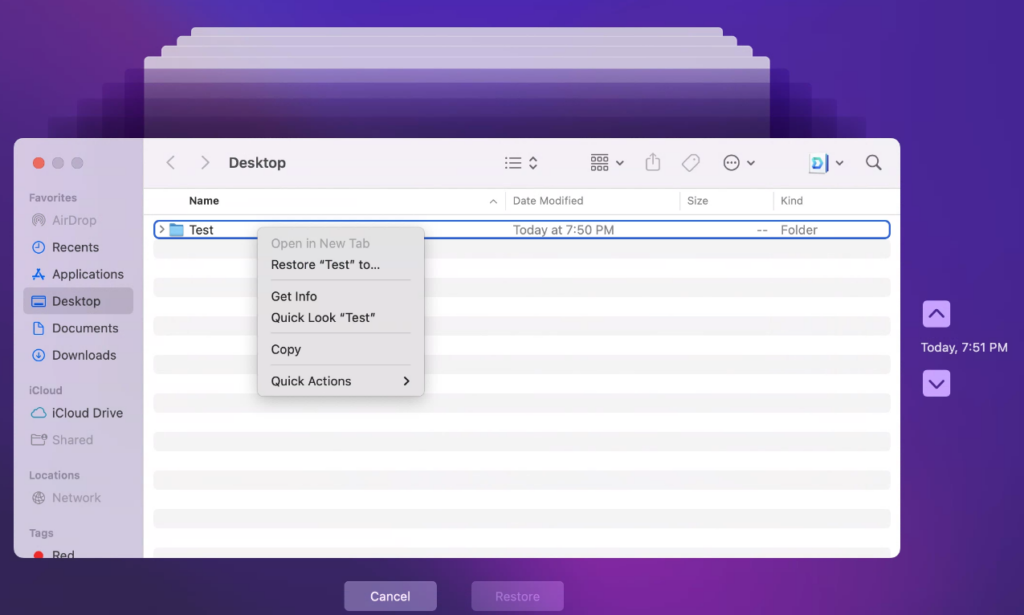
3. A window will open up with your backed-up files. You’ll be able to use the slider on the right-hand side to navigate through your past backups and can right-click and restore (or use the restore button at the bottom) to restore any folders/files desired.
Conclusion – How to Back up to Unraid with Time Machine
In this tutorial, we looked at how to back up to Unraid with Time Machine. Time Machine on macOS works really well with Unraid. Just make sure that you set a volume size limit in the shared folder or your backups might take up more space than you initially expected.