This tutorial will look at how to set up DDNS on OPNsense.
There are many different DDNS providers you can use on OPNsense and if you own a domain, you might want to set up DDNS using your own domain, but DuckDNS is an awesome alternative because it’s totally free.
There are other DDNS providers that force you to click a link every 30 days or fulfill other obligations, but DuckDNS asks you to register, pick a domain name that you’ll use and that’s it. Follow the instructions below to quickly get it set up and configured!
How to Set Up DDNS on OPNsense
The instructions below will look at how to set up DDNS on OPNsense, but before we do, I want to explain exactly what Dynamic DNS (DDNS) is.
What is Dynamic DNS (DDNS)?
There are two types of external IP addresses that ISPs give customers: static and dynamic. The type of external IP address that you have is dependent on the ISP you’re using and what they decided to give you based on the plan you have.
Almost all enterprise environments utilize static external IP addresses and they become an extremely important requirement for things like service whitelisting and firewall configurations.
However, there are times (especially with residential ISP services) when dynamic IP addresses are assigned. This means that periodically, the external IP address assigned will change.
In cases like this, VPNs, web services (utilizing port forwarding) and more can break as the external IP address is no longer what it was, so clients attempt to connect to it and don’t get a response.
Configuring a Dynamic DNS hostname allows you to ensure that the external IP address you’re connecting to is always updated, as OPNsense will automatically update the DDNS hostname if the external IP address ever changes.
We will utilize DuckDNS below as it’s an entirely free service that will allow you to configure a DDNS hostname.
Setting up Dynamic DNS on OPNsense
1. Create an account and Log in to DuckDNS using this website: https://www.duckdns.org/
2. Create a subdomain and click add domain.
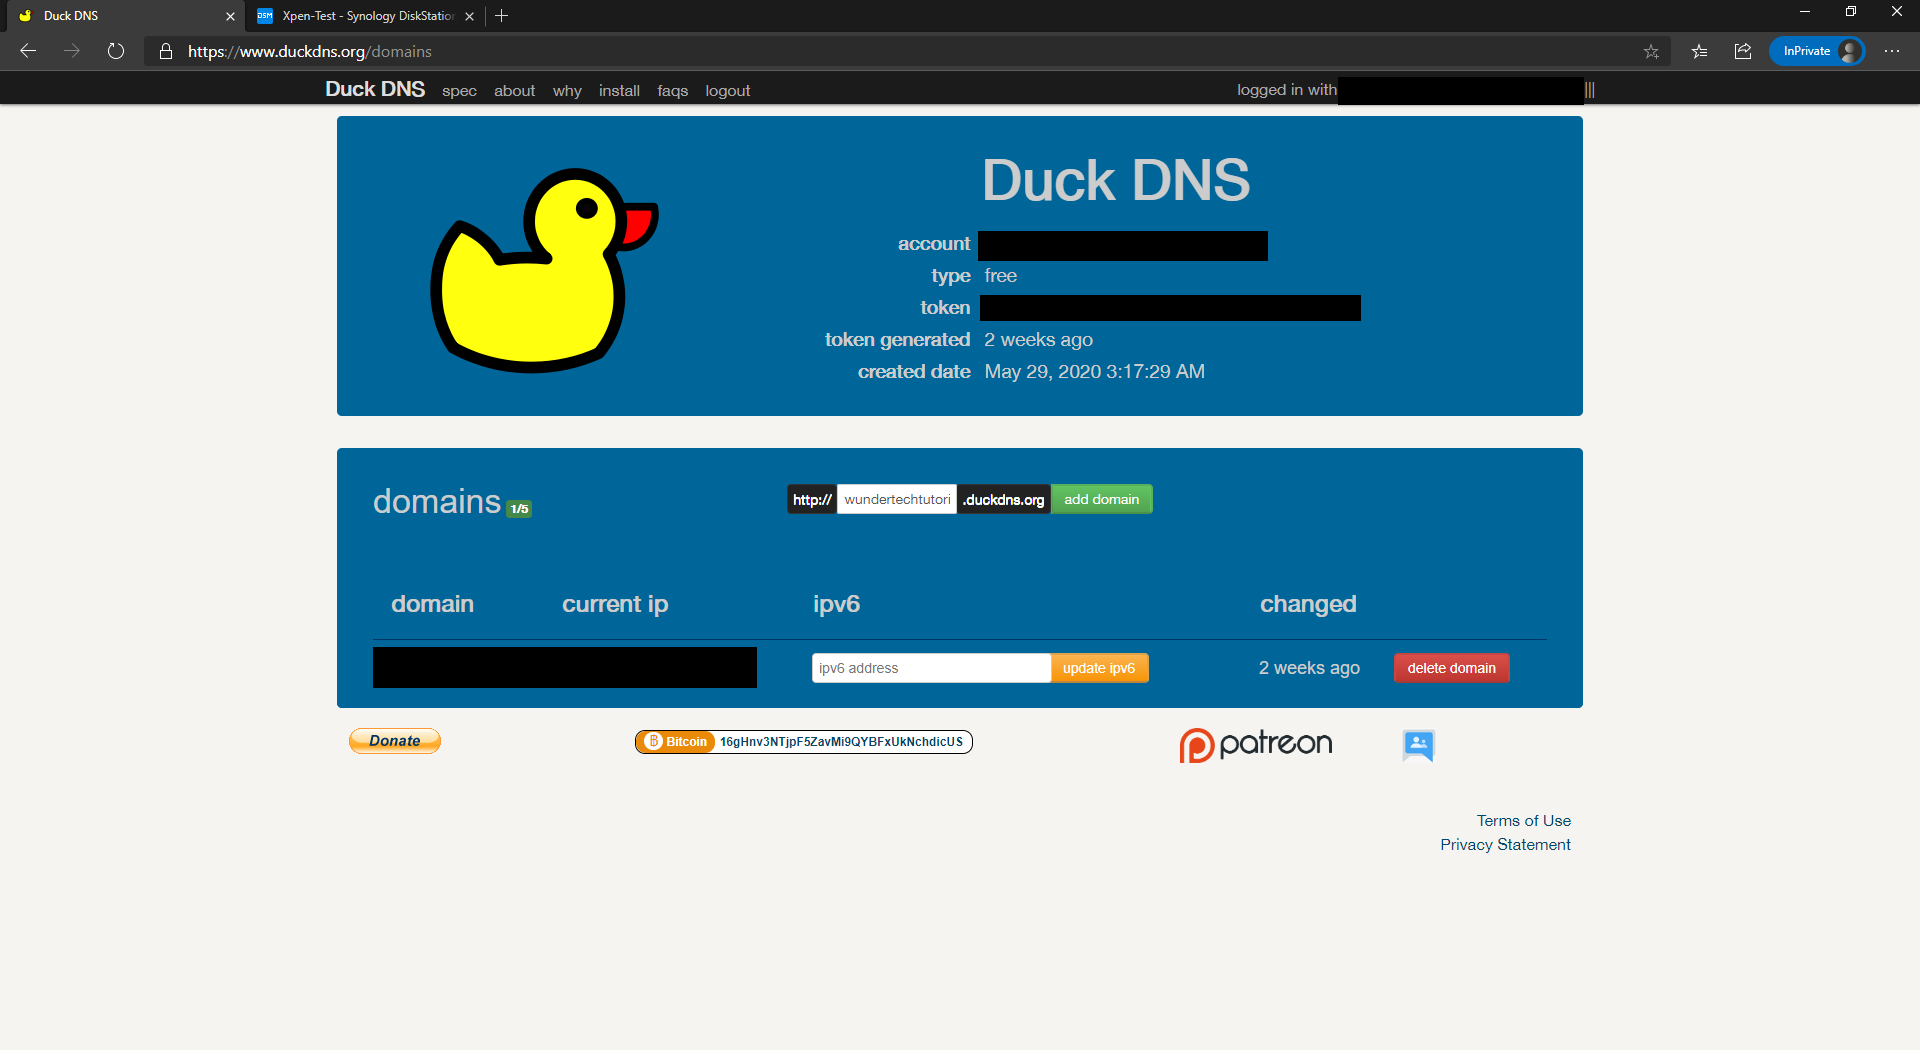
3. Your subdomain is now created and you can now connect it with OPNsense. Please keep in mind that it will display your external IP address, but you must configure OPNsense to update it if it ever changes.
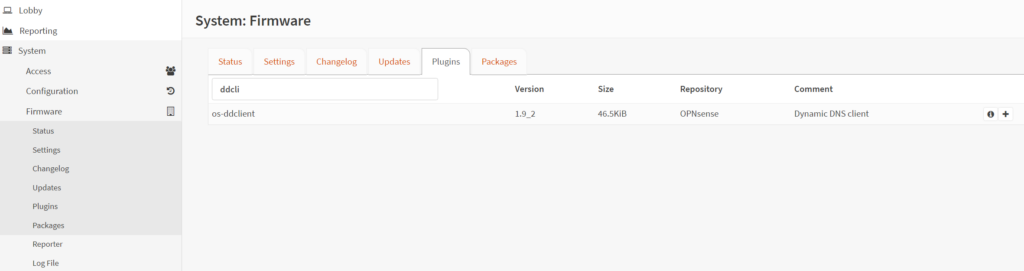
4. Log in to OPNsense, select System, then Firmware, and finally, Plugins. Then, search for ddclient and select the + symbol to install it.
After the download finishes, refresh your web browser.
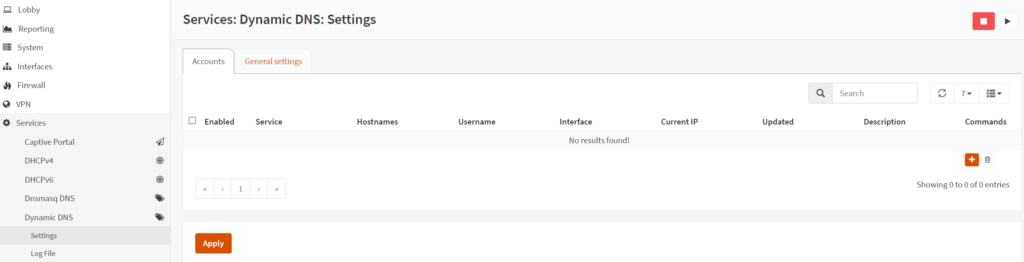
5. Select Services, then Dynamic DNS, then Settings. Click the + symbol to create a new record.
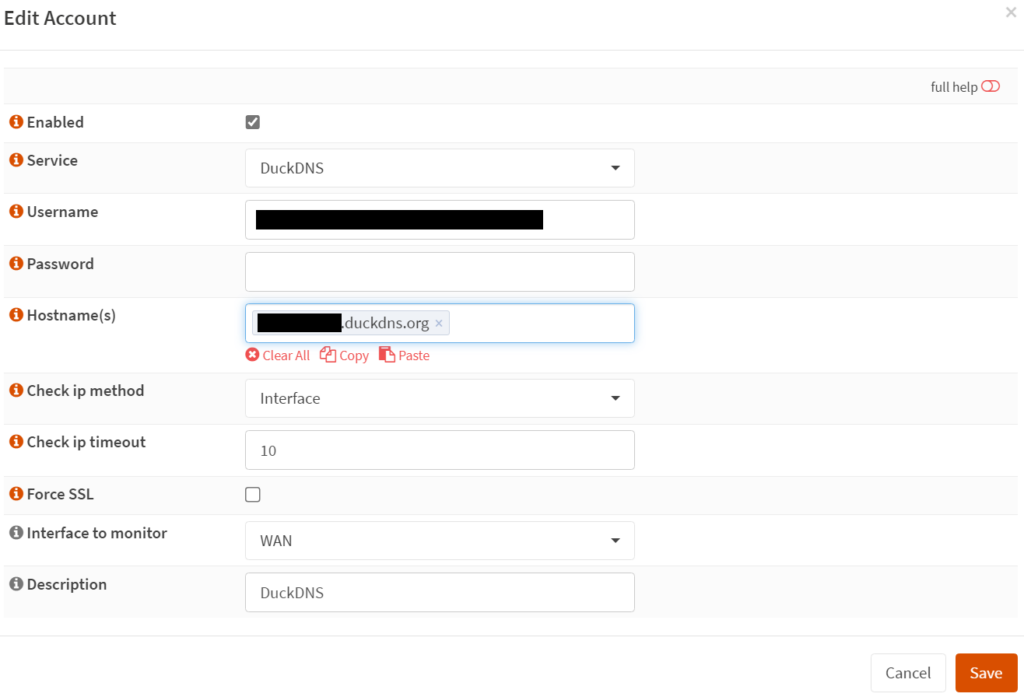
6. Set up the Dynamic DNS settings as shown below:
- Service: DuckDNS
- Username: Token from the DuckDNS website
- Password: [LEAVE BLANK]
- Hostname: The hostname that you configured (subdomain + duckdns.org)
- Check IP Method: Interface
- Check IP Timeout: 10
- Force SSL: DISABLED
- Interface to Monitor: WAN
The settings above will monitor the WAN interface’s IP address and update DuckDNS if necessary!
7. That’s it! Assuming the external IP address changes, DuckDNS will be automatically updated with it and all clients using it will know where to go!
Conclusion: How to Set Up DDNS on OPNsense
This tutorial looked at how to set up DDNS on OPNsense. Overall, using DuckDNS is my favorite option because it’s free and extremely easy to set up.
If you own your own domain and would like to set it up using your own domain, you can. Just keep in mind that from a functionality perspective, there will be no difference – only the hostname will be different.